Make your own Marvellous Mildred doll

How to make a vegan comic hero doll
how to make a vegan comic hero doll

*

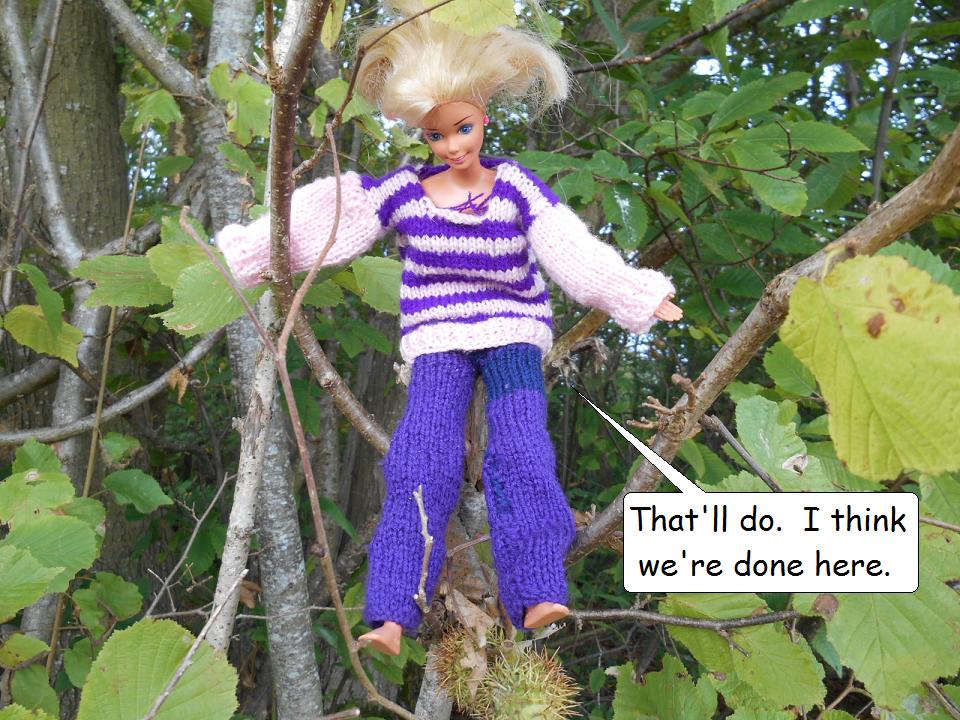
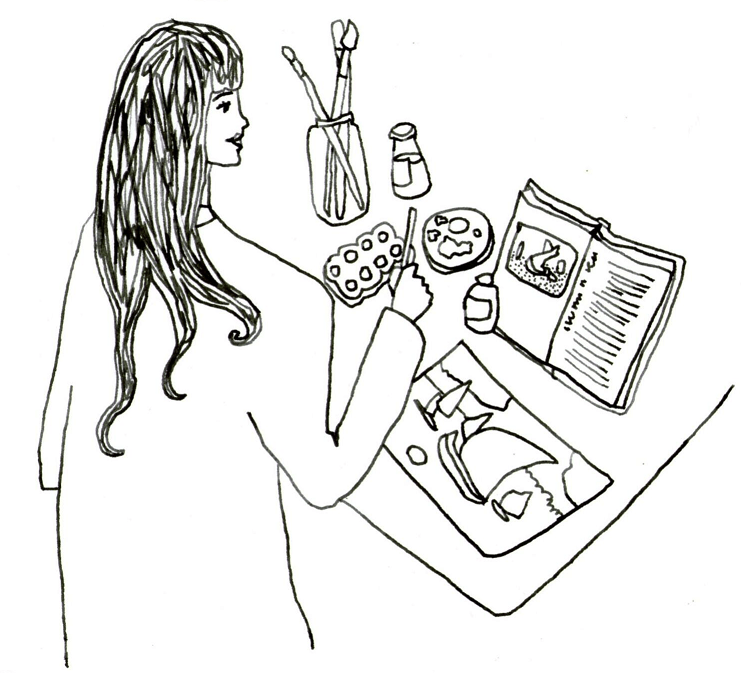
If you fancy making a vegan comic hero doll, it might help you to know that Miranda adapted a Jean Greenhowe pattern for the Venus doll and a Sue Stratford knitted cat pattern for Marvellous Mildred.

Here are some other possibilities:

https://springorchidfiles.com/free-knitting-patterns-for-dolls/

and here are some more:

https://littlecottonrabbits.typepad.co.uk/knitting-patterns/

***************

Violet's Vegan Comics logo

Violet’s Vegan Comics – making vegan children’s books and things to make and do since 2012

Vegan Crossword Puzzle: Stuff With Protein In

 Click on the puzzle for a pdf you can download and print

or ‘print screen’ and paste into Paint so you don’t have to print it 😀

Stuff_with_protein_in

The answers are here 😀

**********************

Created at wordmint.com

vegan, nutrition, plant-based, plant food, vegetables, protein, puzzle, crossword, vegetarian, things to make and do,

I wrote a book

vegan Christmas book

I wrote a book about some birds,

With pictures in and also words.

Brother birds who love each other,

And want to be free together.

1

The birds are turkeys, big and fat,

The farmer makes them fat like that.

He makes them fat to kill and eat,

For those who think they are just meat.

2

But they are not, they’re meant for more,

Christmas dinner’s not what they’re for.

They’re clever and they think and care,

They suffer too and that’s not fair.

3

So when I saw some library books

In which a family smiles and cooks

A big fat bird to celebrate

The Prince of Peace born on that date, …

4

I decided to put my book

On that shelf in the library nook.

A child might find it and read it and see

Turkeys deserve to be happy and free.

5

**************************

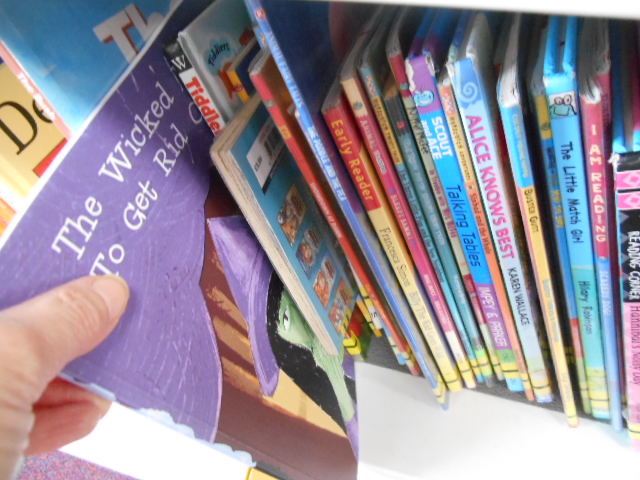
There are so many books in libraries that perpetuate the illusion of the witch’s spell.  Whether they be fiction or non-fiction, they tell children, at the most impressionable  time of their lives, that some animals are “farm animals” and as such are there to serve our ‘needs’; that we ‘need’ meat and dairy and fish; that our health is dependent on these things; that animals are happy on farms and rearing animals to kill them is the most normal, natural thing in the world.  It’s no wonder it’s an uphill struggle for those of us trying to share the truth:

  1.  Animal farming is extremely cruel,
  2. Eating animal products is detrimental to our health
  3. Animal agriculture is by far the biggest cause of global warming, rainforest destruction and ocean deadzones.
  4. Going vegan is the only way to save the world.

Years ago I purchased a new copy of a Ruby Roth book and donated it to my local library.  It never made it to the shelves of that or any other library in the county.  They refused to include it.   They rejected it.

Adults don’t listen.  Children might 😉

NB: If you photocopy an insert from a different county library than the one you’re infiltrating, maybe with the word DISCARDED stamped on it, img199and a child finds and likes the book and wants to take it home, one of two things is likely to happen:

  1.  The child puts the book, perhaps with a pile of other books, onto the automated check out machine and doesn’t notice the illegitimate book hasn’t registered on the system.  They simply bag it and take it home.

Or

2.  The child does notice the book hasn’t registered and takes it to the librarian who looks at it and says, “oh, this has been returned here by mistake, you can keep it”.

And just keep doing it, different books, different libraries, all with a positive vegan message that tells children they are right to follow their instinctive, compassionate natures and love all animals, not eat them.  Most grown-ups are too stuck in their ways; too brainwashed.  Communicating directly with children is the only way we’re going to change anything.

Go on, be a rebel – it’s kinda fun 😉

dscn5751

Food Wordsearch

food wordsearch

Search for the following food items and draw a line through them – they might be forwards, backwards, vertical, upside down or diagonal.  And you don’t have to print it out if you don’t want to – just click on the pic, then right click and save it to your computer, then open it in ‘paint’, or whatever picture editing program you’ve got, and you can draw the lines on there 🙂

APPLE    POMEGRANATE    DATES    FIGS    LENTILS    TOFU    BEANS

POTATOES    SPINACH    KALE    SQUASH    PORRIDGE    PEAR    OATS

CABBAGE    LETTUCE    TOMATO    PEAS    APRICOT    PLUM    LEEK

BROCCOLI    CUCUMBER    CAVOLO NERO    CHERRY    ORANGE    RAISINS

PARSNIP    TURNIP    WALNUTS    BANANA    CARROT    ONION    GARLIC

PEPPERS    CASHEWS    GRAPES

Keeping warm with odds and ends

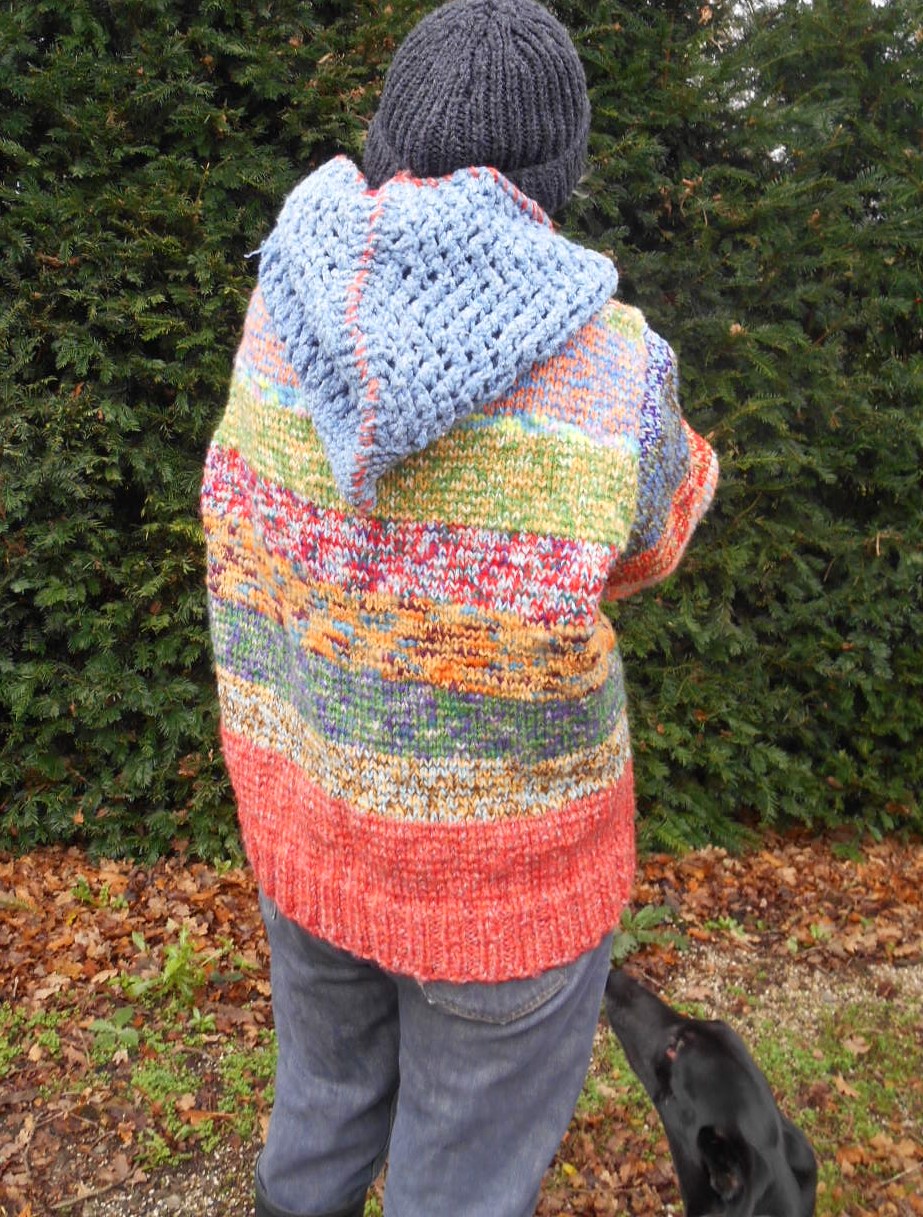
handknit  hoodie

You may remember I have already knitted a hoodie like this out of leftover  and unravelled yarn but I gave that to Miranda so I needed another one.  And this one only took me 2 months to make, which is a record for me!

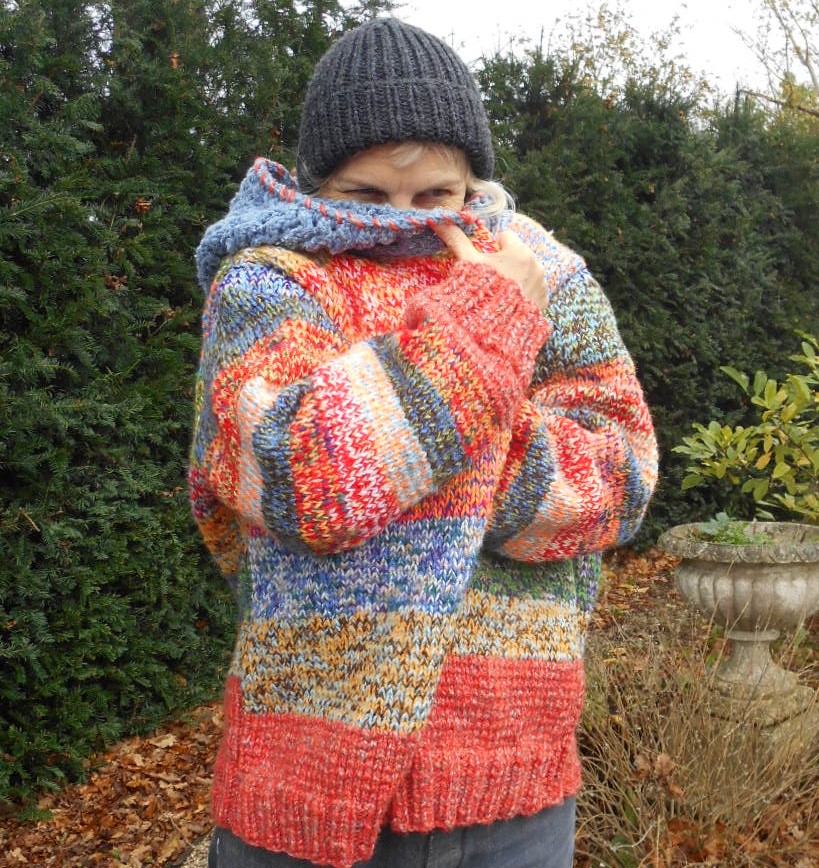
handknit hoodie

Whilst this one is not made of unravelled yarn, I didn’t buy any new stuff because it’s made completely of other people’s leftovers.  Quite a few balls had been given to us of various colours and thicknesses, and I spent a couple of pounds at charity shops buying a mixture of odd balls, so it has cost me next to nothing and I’ve made something useful out of stuff that was being thrown out.  Win-win 😀

handknit hoodie

Ooh, it’s so lovely and warm 😀

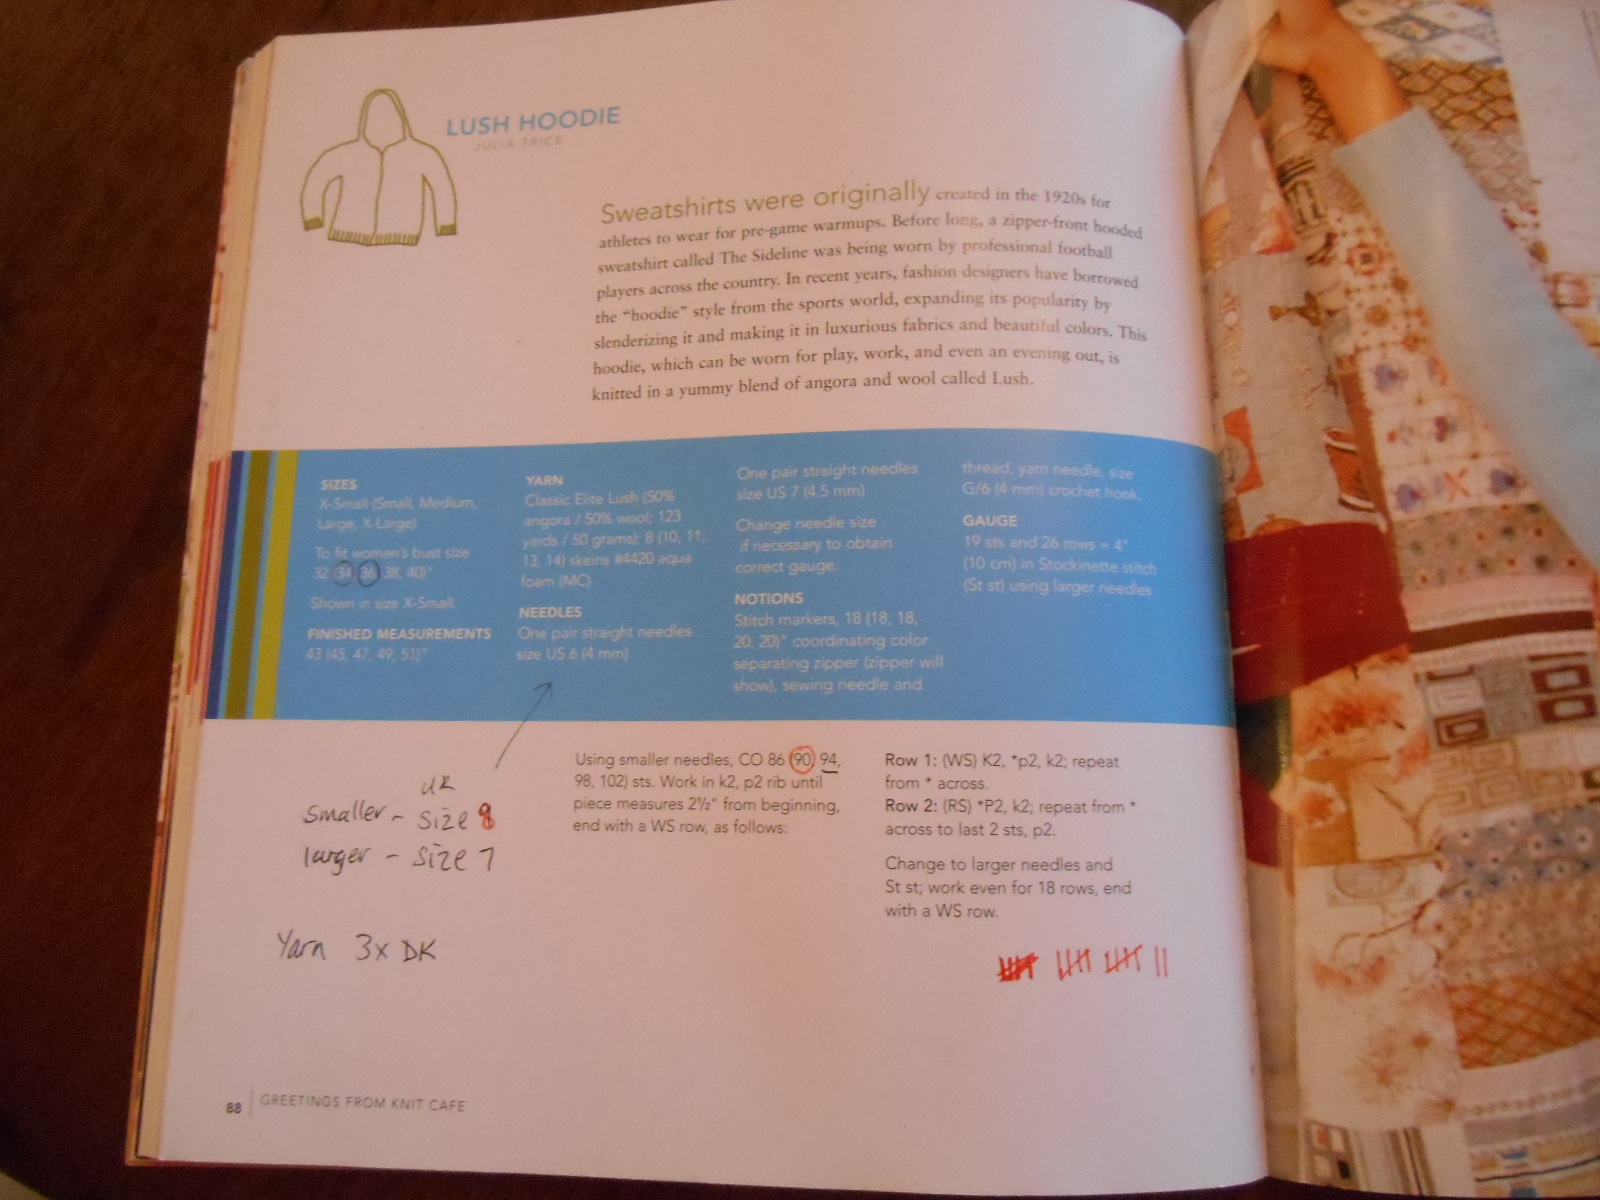
Here is the pattern if you’re interested, although it’s rather messed up so I don’t know if you’ll be able to make sense of it.

knitting pattern

knitting pattern

knitting pattern

I made mine really chunky by using 3 strands of DK (or whatever I had) so it came out bigger than the one on the pattern.  Plus I made mine longer.  So, with a pack-a-mac over the top on rainy days, I’ve got a homemade winter coat 🙂

The pattern came from this book  Greetings from Knit Cafe by Suzan Mischer

Fruit Sudoku

fruit sudoku

I think sudokus are fun but someone I know hates maths so numbers make him panic and he just won’t try them.  I told him they have nothing to do with maths but he is adamant!

So I’ve made a fruit sudoku for those who, like him, are panicked by numbers.

For the uninitiated: the idea is to fill each box with one of each fruit while making sure that there is also one, and only one, of each in every vertical and horizontal line.

You don’t need to print this out.  Just copy/save the picture and open it on your computer in ‘Paint’ or similar picture editing program.  Then zoom so that you can see the whole thing on your screen and copy and paste fruits into the empty squares as you solve the puzzle.

Have some fruity fun 😀

A Good Book and some Upcycling

Unqualified Education

When we began our home schooling adventure all those years ago we were very lucky to find this wonderful book.  Unqualified Education is full of inspiring ideas and information, advice and encouragement.  It is an absolute joy and still a great resource after the children have grown up.

contents

We decided to home school when my eldest daughter was just 12 and my youngest was 9.  It was not because they were bullied or anything, and they were not struggling with any of the work.  It was just that life is short, and childhood so short that they should be able to enjoy it all.  In school they were forced to conform to the ‘norm’, to study a set curriculum.  It was so rigid.  My eldest was so stressed.  She got detention for wearing the wrong colour socks for PE; her friend who had cut his hair into a mohican, and had assured his teacher that he would wear it flat and combed tidily for school, was told “Absolutely not!  Shave it all off!”  They simply weren’t allowed to be individuals.

At home we were free.  They could study what they wanted, how they wanted.  We went bike riding and swimming.  We grew vegetables and cooked and sewed and painted and, yes we did maths and English, but we read and read and read – really good books.  We did history and learnt Welsh (a bit).  What I knew I taught them; what I didn’t know we learnt together.  It was the best time.

This book was a wonderful support and inspiration.  Mind you, it’s a good book for anyone, whether home schooling or not.  As you can see from the Contents page, there’s a lot in there, and the recipes in the cooking section are all vegetarian and nearly all vegan!  There is the most amazing chocolate chip cookie recipe – mm mmmmm!

****

Anyway, I needed a new apron so I got out the book, looked up the apron pattern and upcycled myself one:

how to make an apron

(You can click on the pics to enlarge them by the way)

first

first pic

I didn’t have a broadsheet newspaper but luckily Miranda had an old pad of flip-chart paper which she’d rescued from the bin at work and that was just right for this job.

second

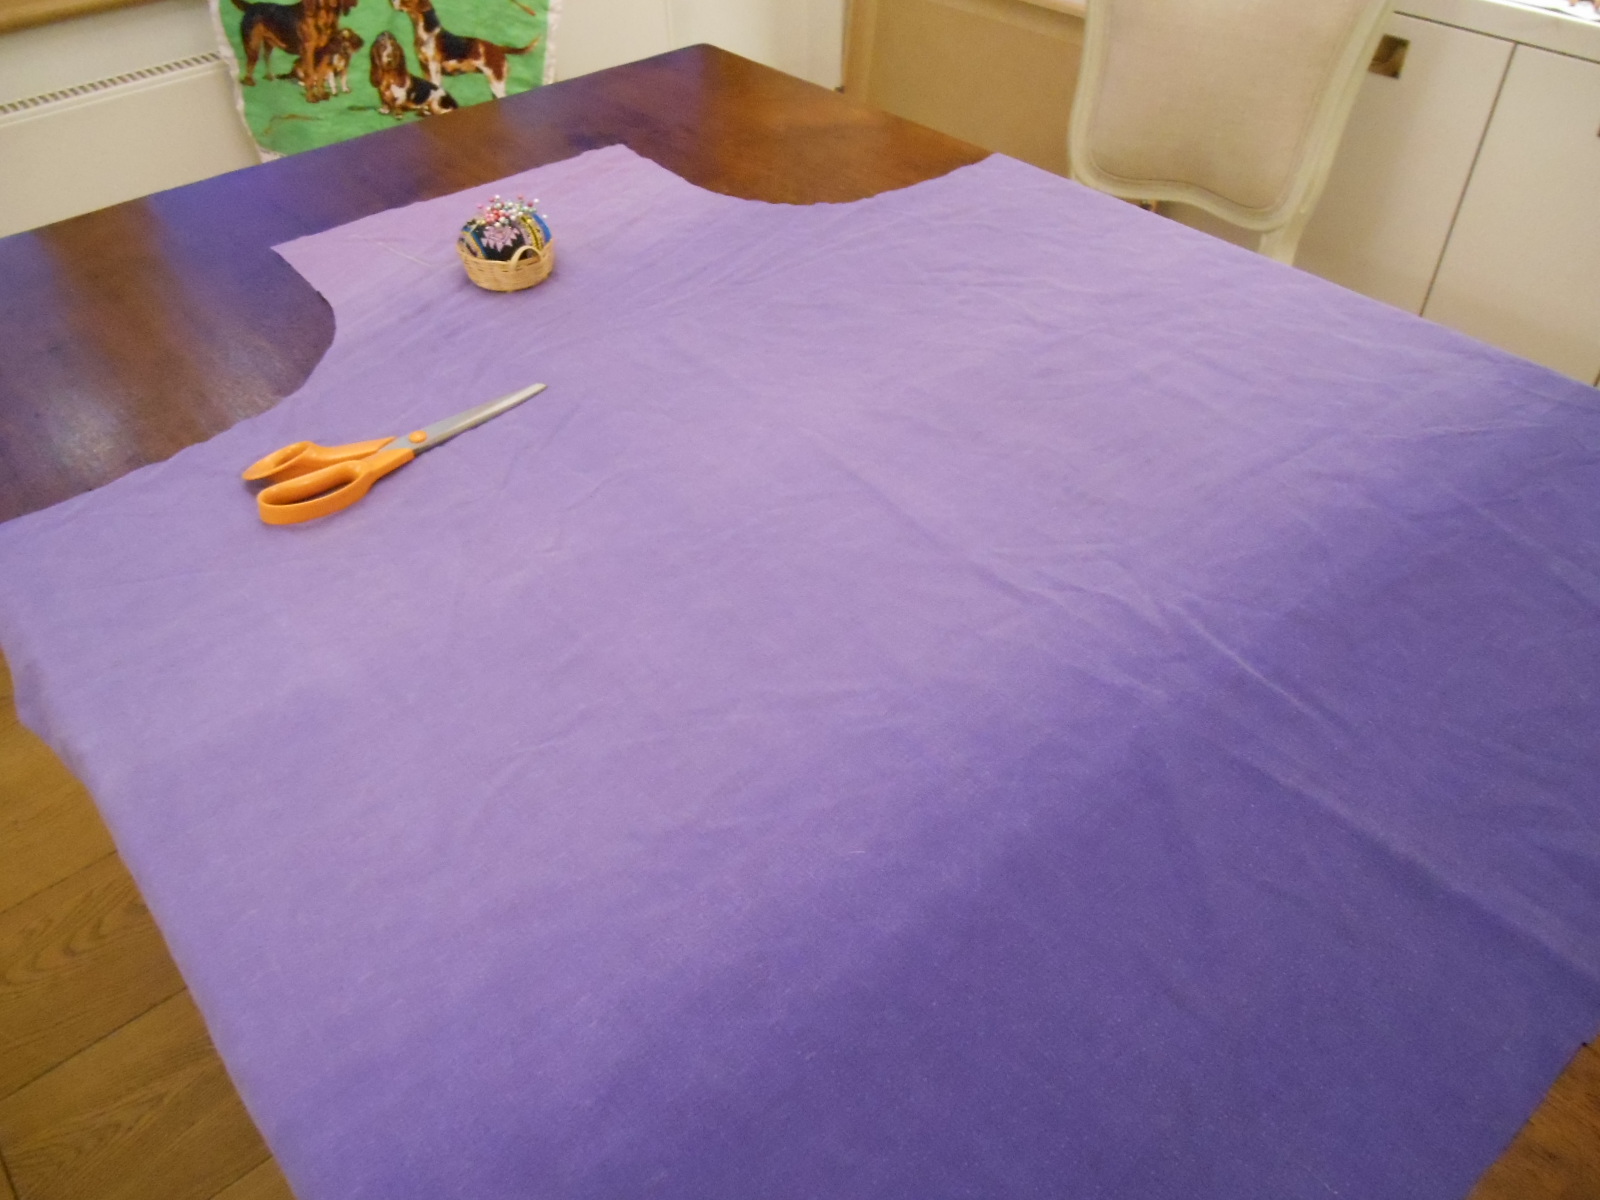
second pic

I upcycled an old duvet cover – thoroughly washed of course!  I didn’t do the little pocket because I wanted a big pocket – read on 🙂

cut out

third

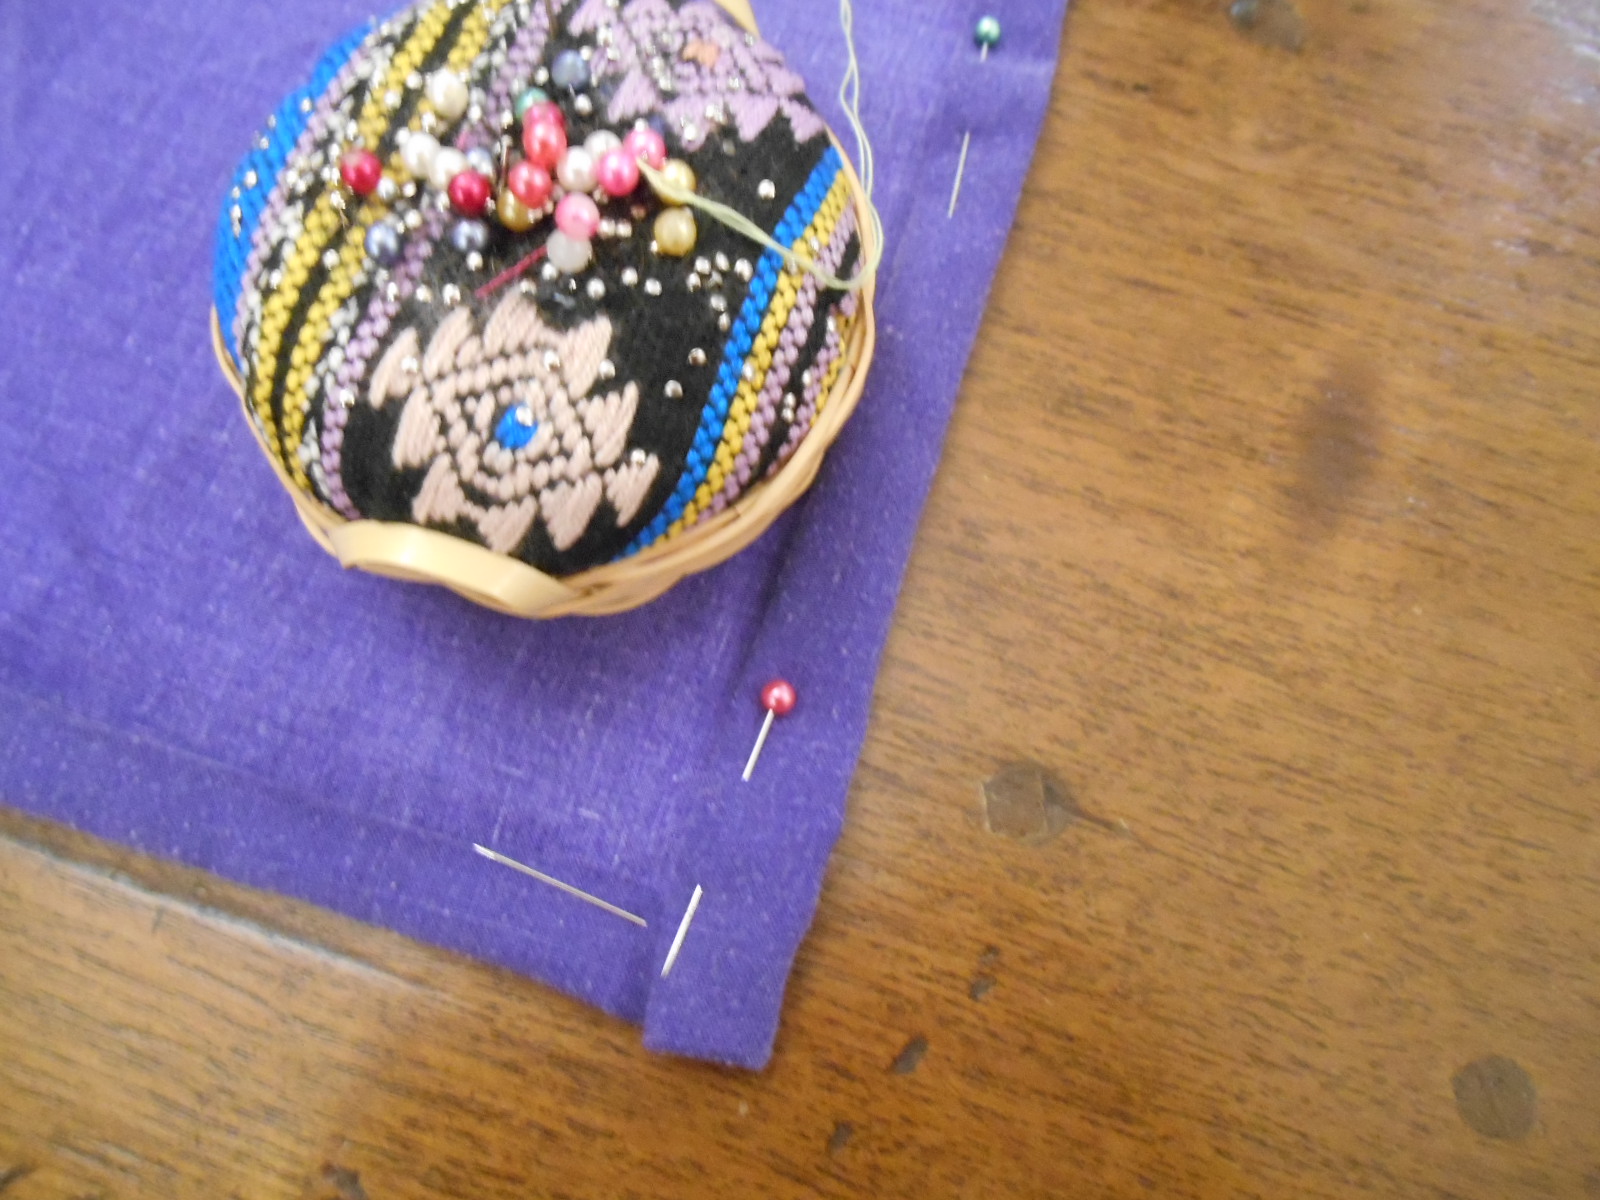
fold, pin and hem

You can sew it by hand, it just takes a while.  Luckily I had use of a sewing machine – thanks Mum 🙂

After the hemming was done I attached the ties as shown in the instructions.

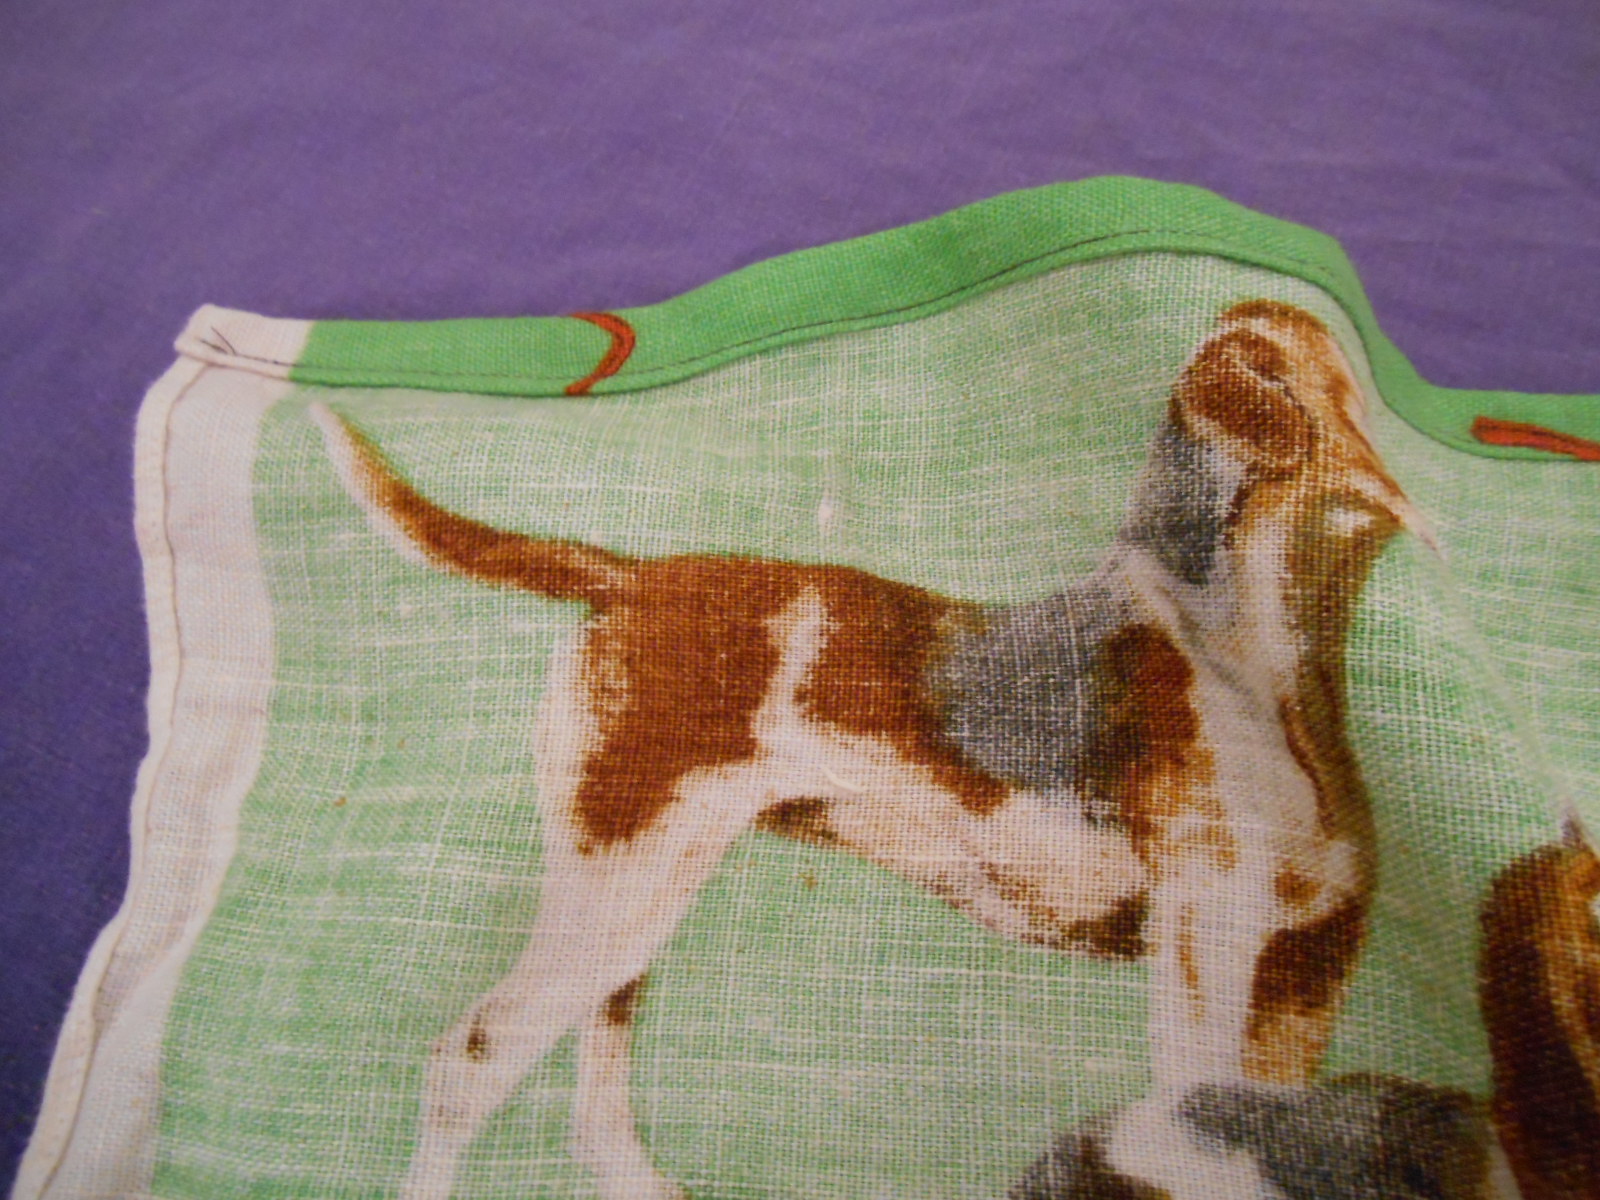
vintage tea towel

I decided to make a pocket out of this gorgeous vintage tea towel found in a charity shop.  I cut off the bottom row of dogs and hemmed the raw edge.

fold and hem top edge of pocket

Then I put on the apron so that I could position the pocket and put in a pin to mark the position of the centre of the top of the pocket.

put on apron and mark with pin where centre top of pocket will be

Then I sewed it on.  With a pocket this size you have to sew up the middle, effectively creating two pockets.  No dogs were harmed by this procedure – I was very careful not to sew over any of them 🙂

All done!

finished

finished apron

Babs goes nuts!

001 Babs goes nuts

01 Babs goes nuts

01a Babs goes nuts

1 Babs goes nuts

2 Babs goes nuts

3 Babs goes nuts

4 Babs goes nuts

5 Babs goes nuts

6 Babs goes nuts

7 Babs goes nuts

8 Babs goes nuts

9 Babs goes nuts

10 Babs goes nuts

13 Babs goes nuts

11 Babs goes nuts

14 Babs goes nuts

Here’s some we did yesterday:

DSCN2169

First preheat your oven to 200°C if it’s a fan oven (higher if not), or 400°F or gas mark 6.

Then rinse the chestnuts, trim off the stem, and cut a cross in the outer skin.  If you don’t slit the skin they will explode in the oven.

15

16

Get a grown-up to help you with this because it’s quite fiddly and needs a sharp knife.  We don’t want any fingers getting sliced!

When you’ve done that you can put your nuts on a baking tray or dish …

DSCN2175

We only collected a few yesterday because we’d never tried them before and didn’t want to waste too many if we didn’t like them.  Of course you may deduce now that we did like them!

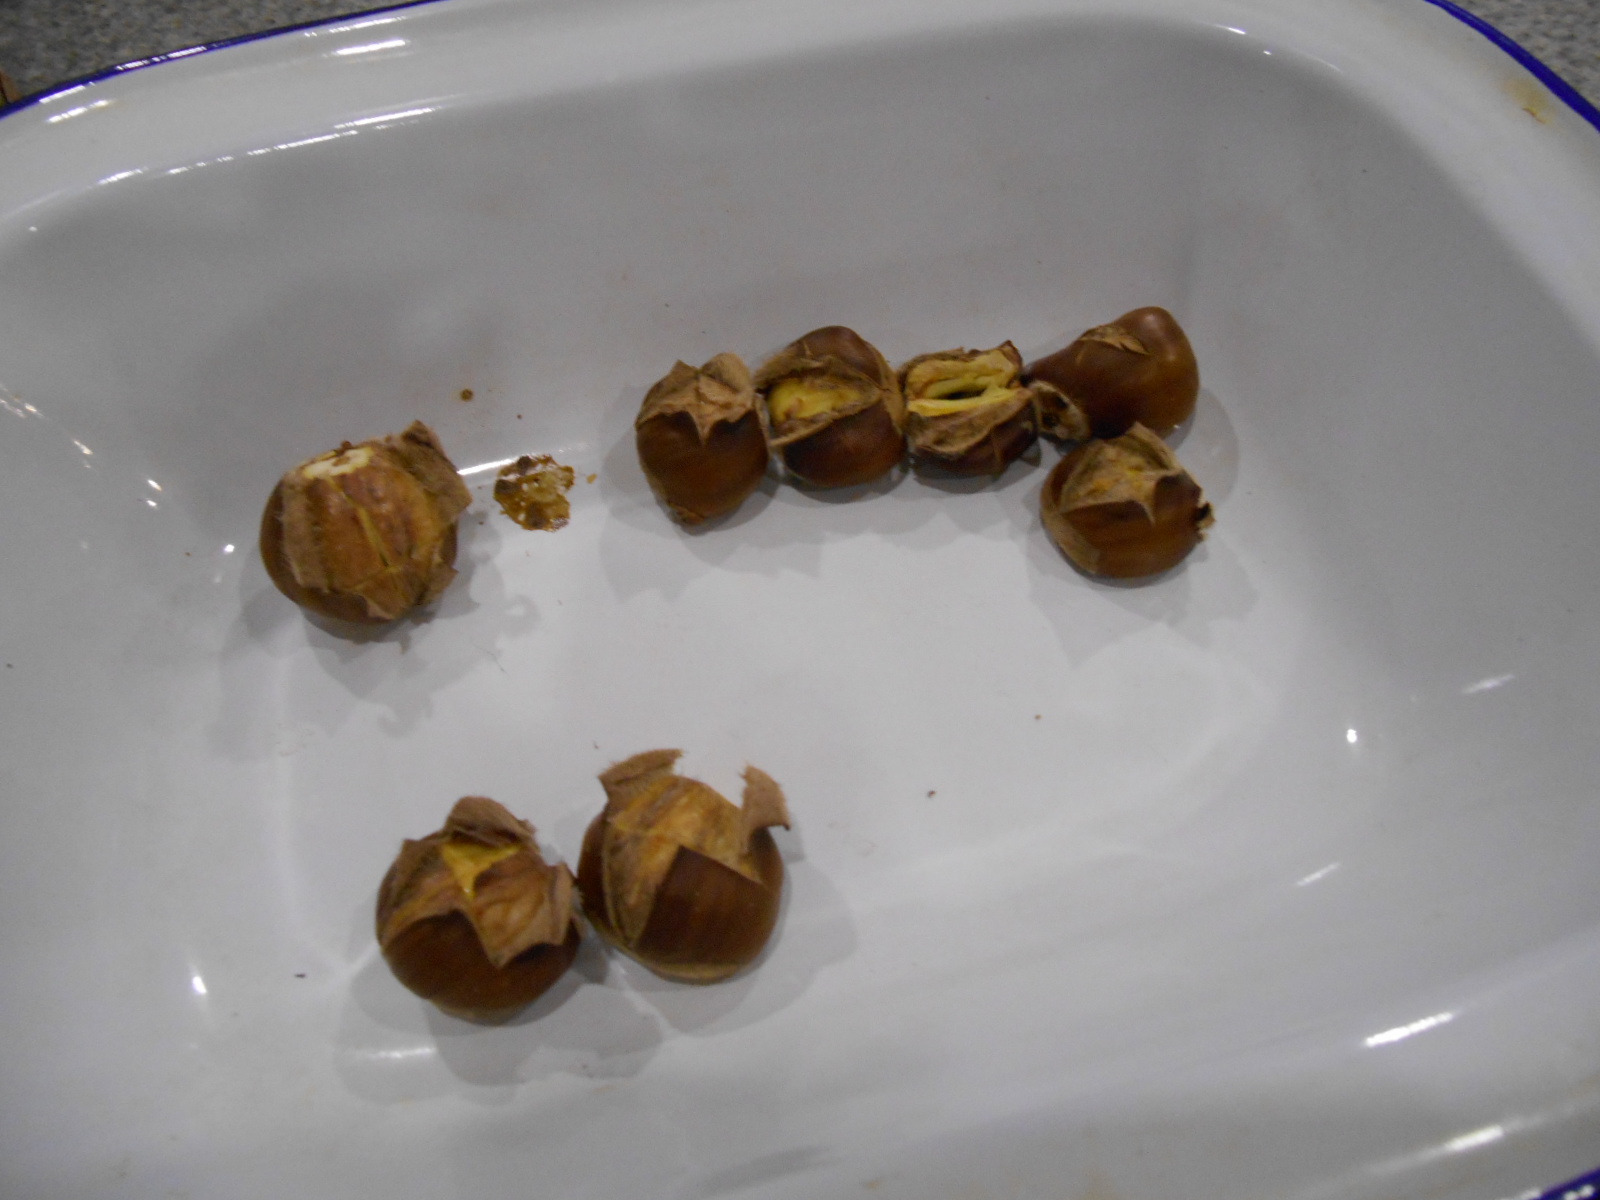
Bung them in the oven and roast them until the skin peels open which should take around half an hour.

DSCN2181

While they are warm, peel off the outer brown skin and the inner paler skin …

DSCN2189

And you’ll be left with a beautiful, soft, creamy-coloured nut which is absolutely delicious:

DSCN2193

Yum!

Happy foraging love Babs

Yummy Scrummy Crispy Cakes

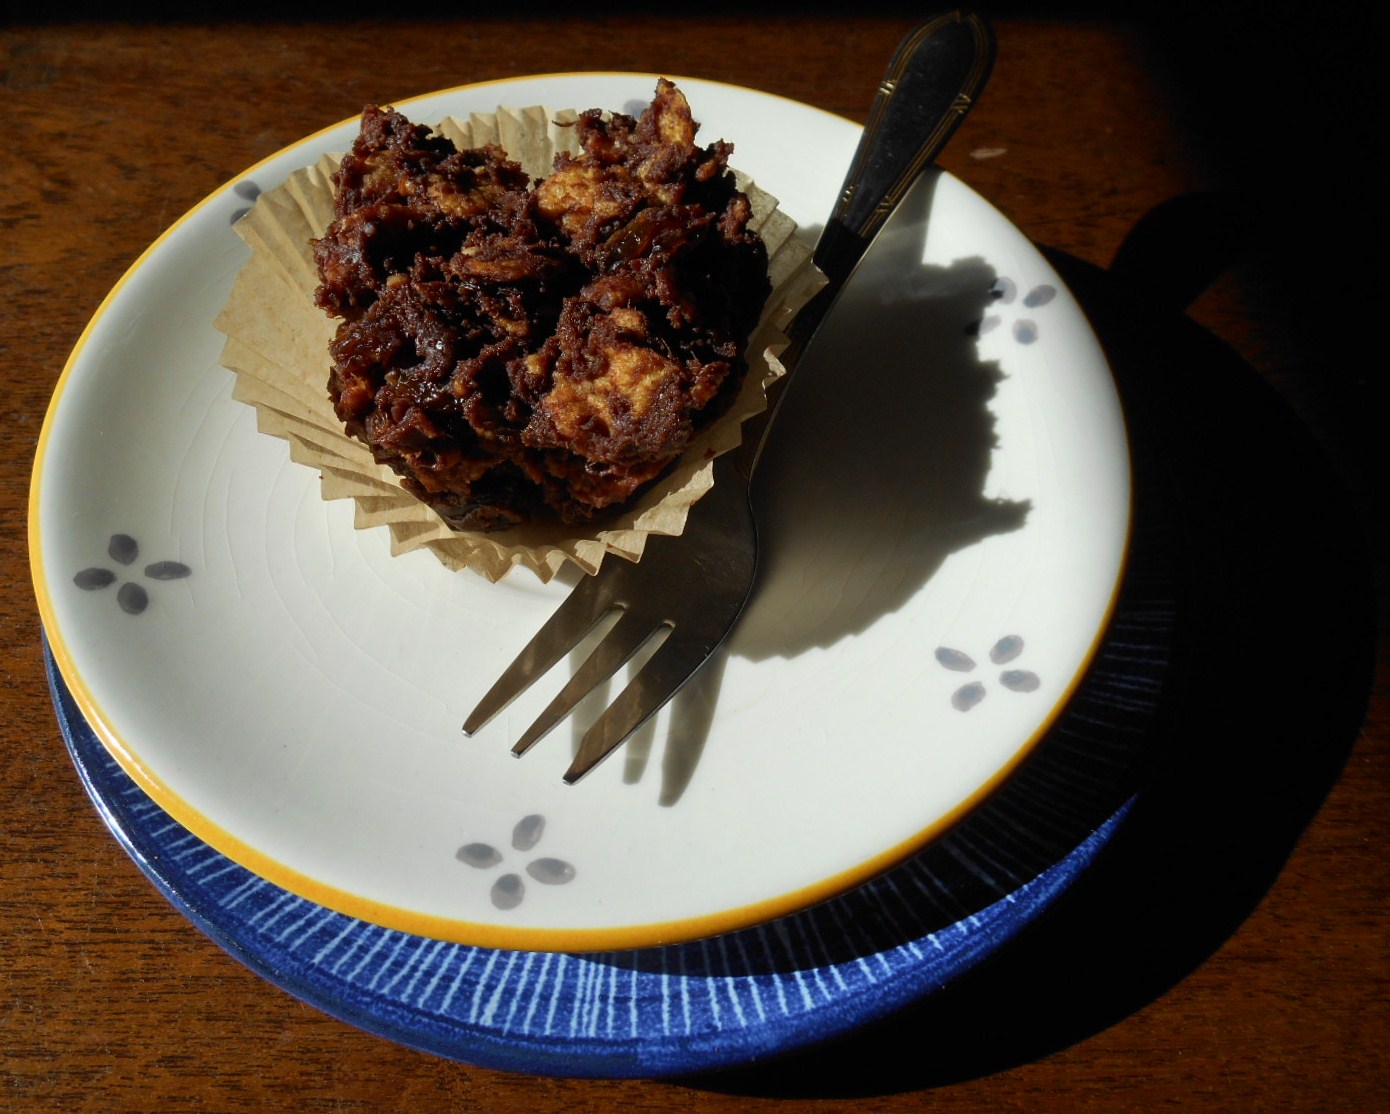
I used to make crispy cakes which were absolutely scrumptious but really not good for my health because of all the syrup in the recipe.  So I thought, I wonder if I can make these gorgeous treats healthier by leaving out the syrup and substituting dates.  Turns out – you can!  I am therefore very excited to share with you my recipe for yummy, scrummy, chocolatey, nutritious crispy cakes.

Here’s what you’ll need:

what you will need

Gluten-free, sugar-free, organic corn flakes; nothing-added organic peanut butter; pitted dates, soaked over-night; and chocolate (this one does have sugar in it admittedly, but you could use organic raw sugar-free chocolate instead if you prefer, I just didn’t have any today)

First get your chocolate melting in a little pot over some hot water.

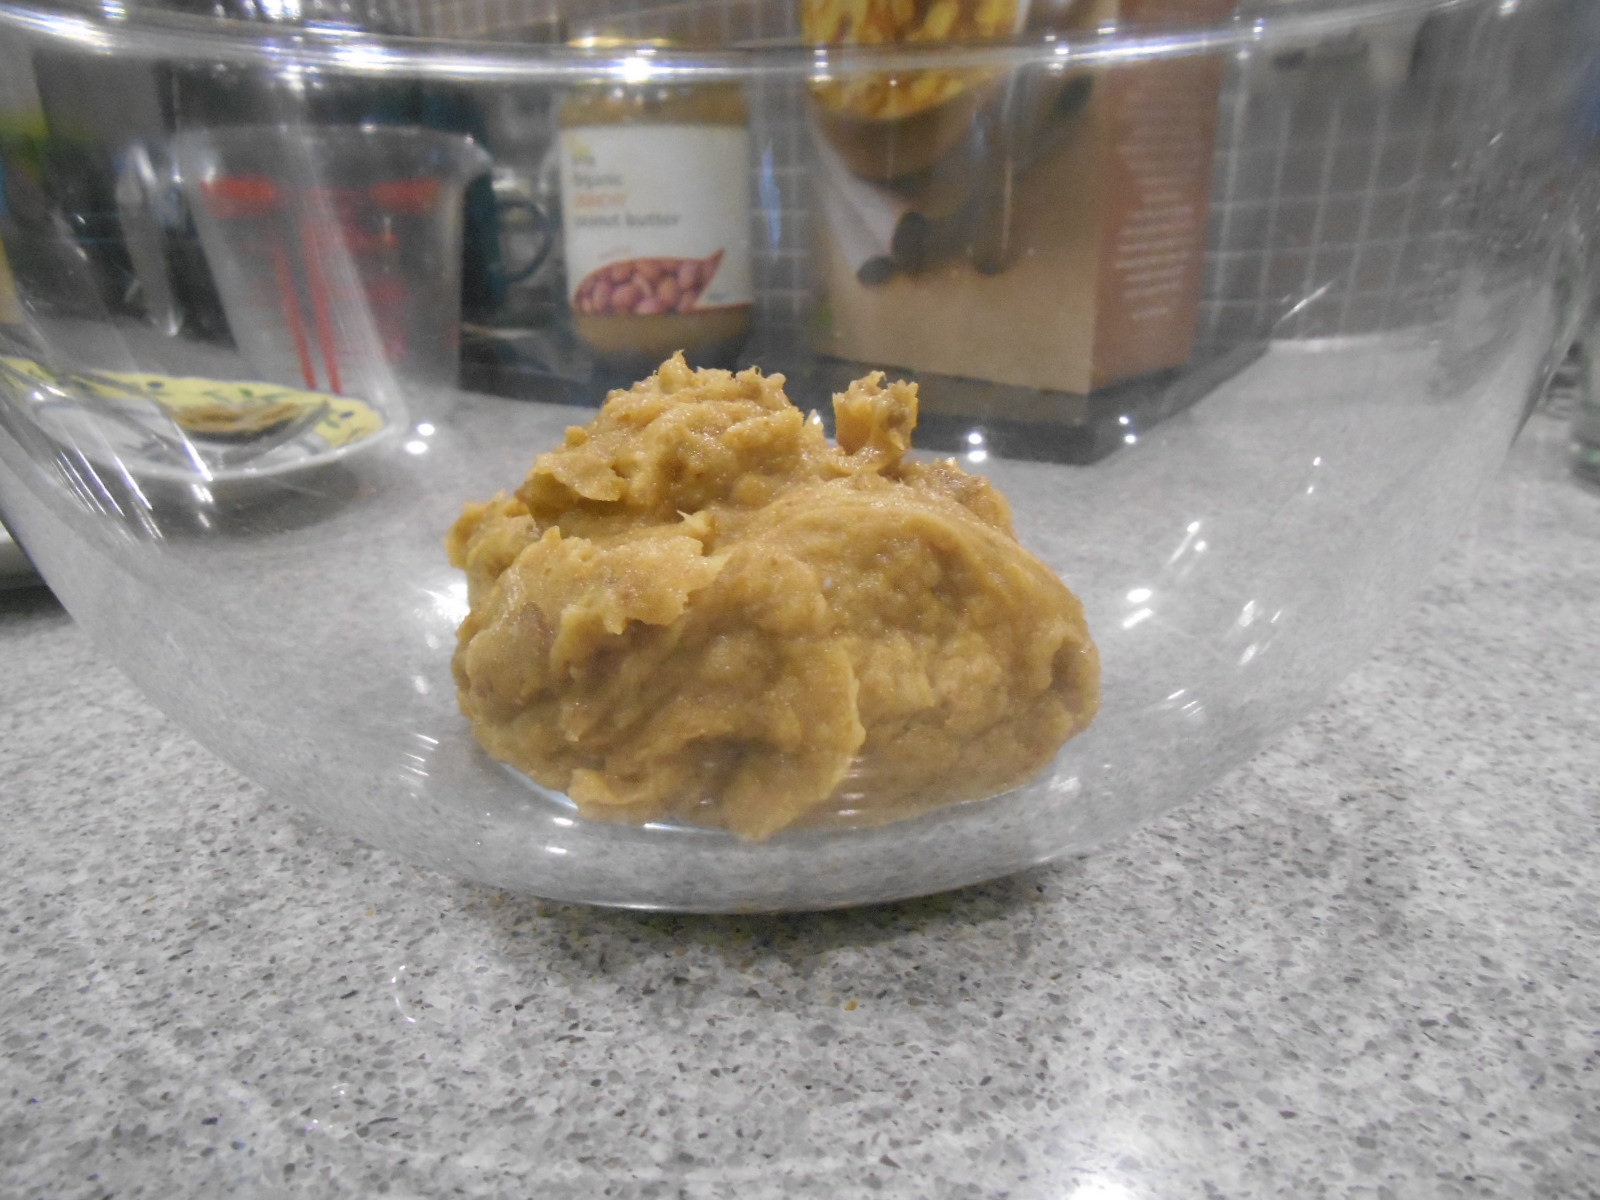
Drain the water off your soggy dates and bung them in the food processor.  Process them to a smooth, moist consistency and place them in a mixing bowl like so:

date mush

Then add a couple of generous tablespoons of peanut butter:

add peanut butter

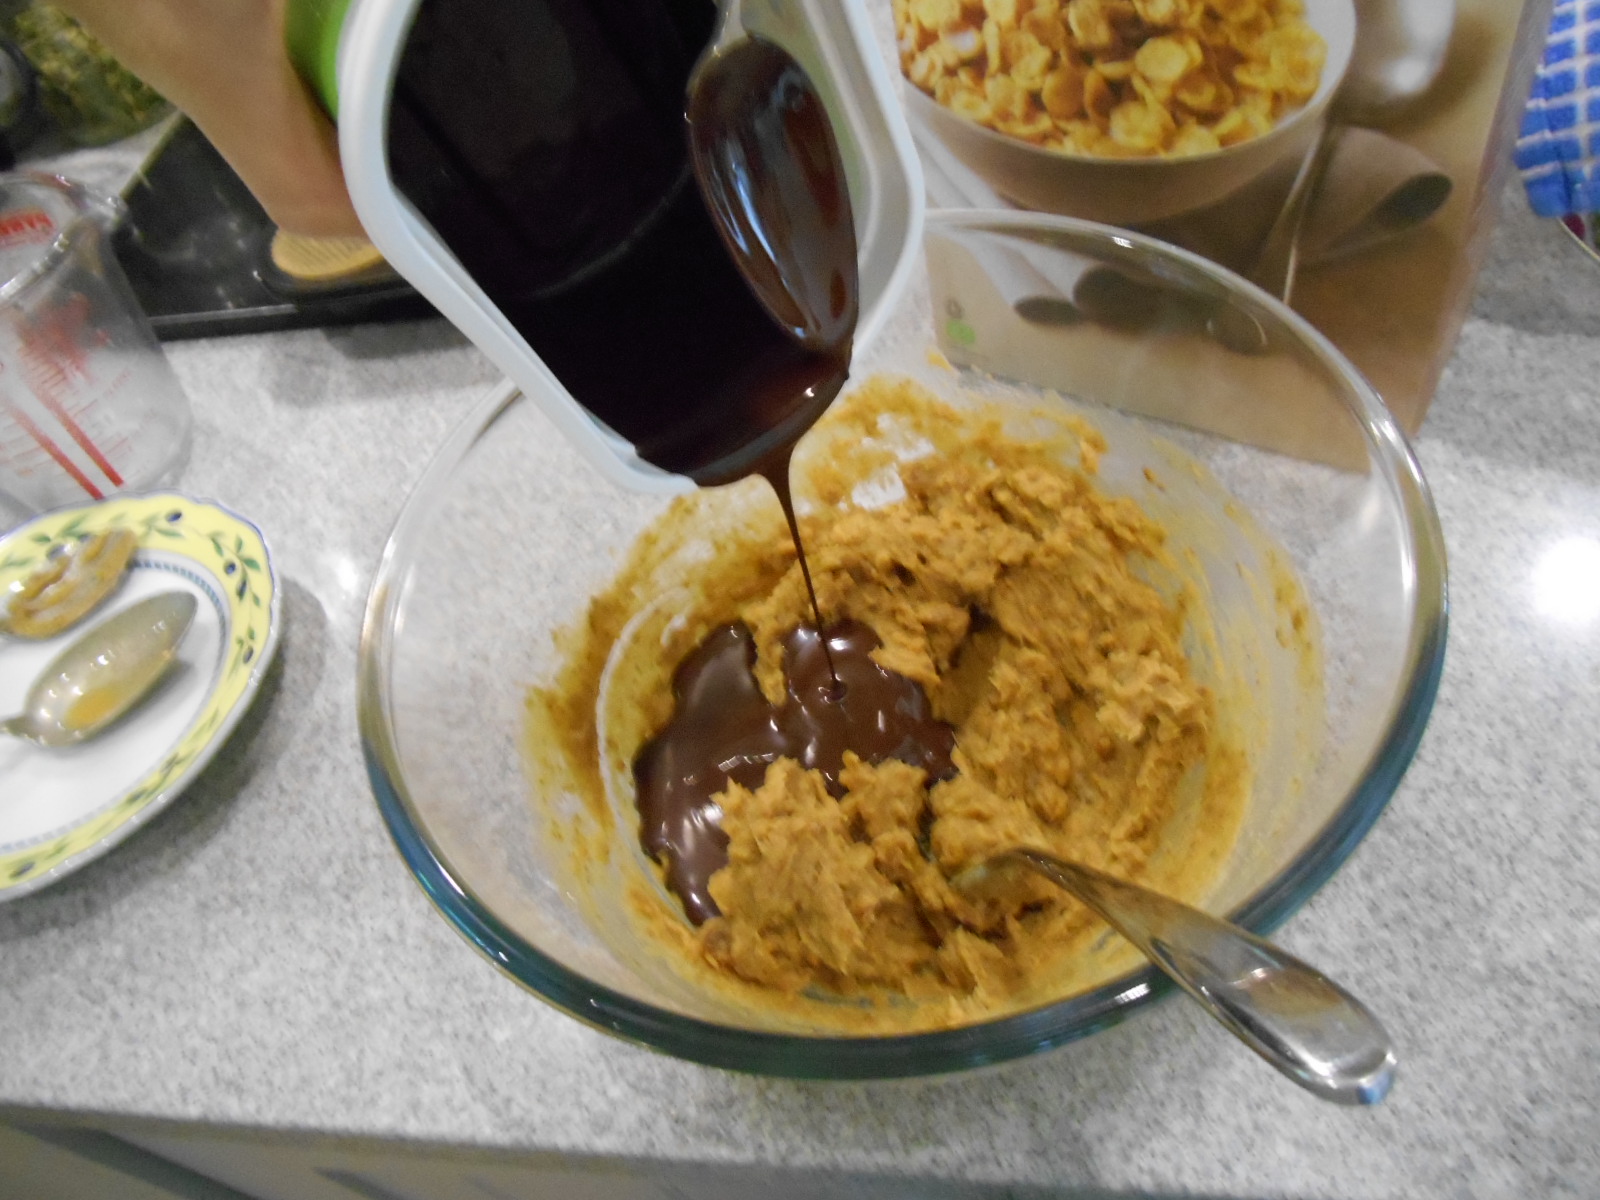
Combine thoroughly with a fork and then add your melted chocolate and mix that in too:

add melted chocolate

When that’s all well combined, it’s time to mix in the corn flakes.  Add a few at a time and keep adding them until you can’t mix any more in (ie until the mixture is too dry to add more):

add corn flakes

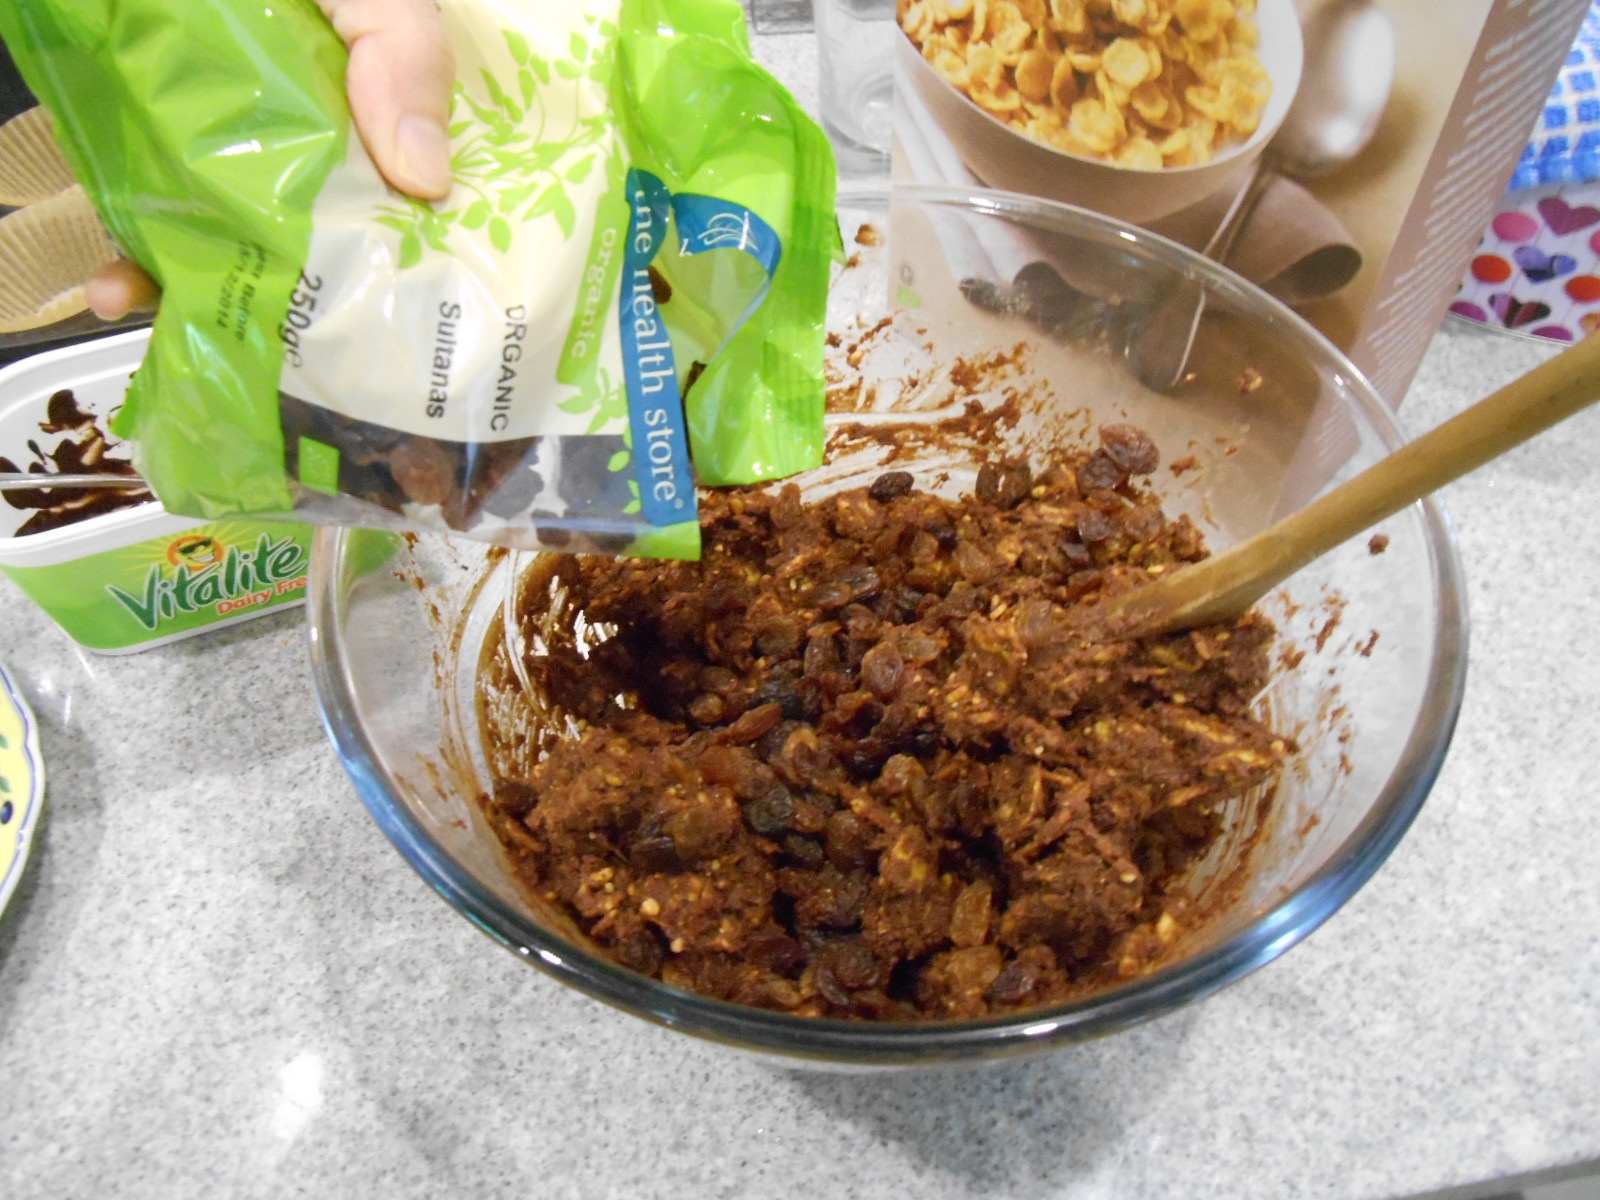
When I’d added all the cornflakes my mixture could take, I tasted it and felt it could do with a little more sweetness.  So I added sultanas.  You suit yourself:

optional add sultanas

When you’re satisfied with your mixture, spoon it into some paper cake cases :

fill paper cases

And chill until ….. you want to eat them:

Done!

Done!

Yum!

Yum!

The Andersons’ Bus Part Two

For those who don’t know who the Andersons are, they are characters in one of our stories – a vegan family who live in an old bus. Look here

Anyway, I had such fun building a model of their bus last week that I didn’t want to stop there – I had to furnish it!  Now, before I show you what I did I want you to bear in mind that I have no previous experience of doing anything like this and I just made it up as I went along.  So forgive its many imperfections and picture how much I enjoyed doing it – that’s the main thing 😉

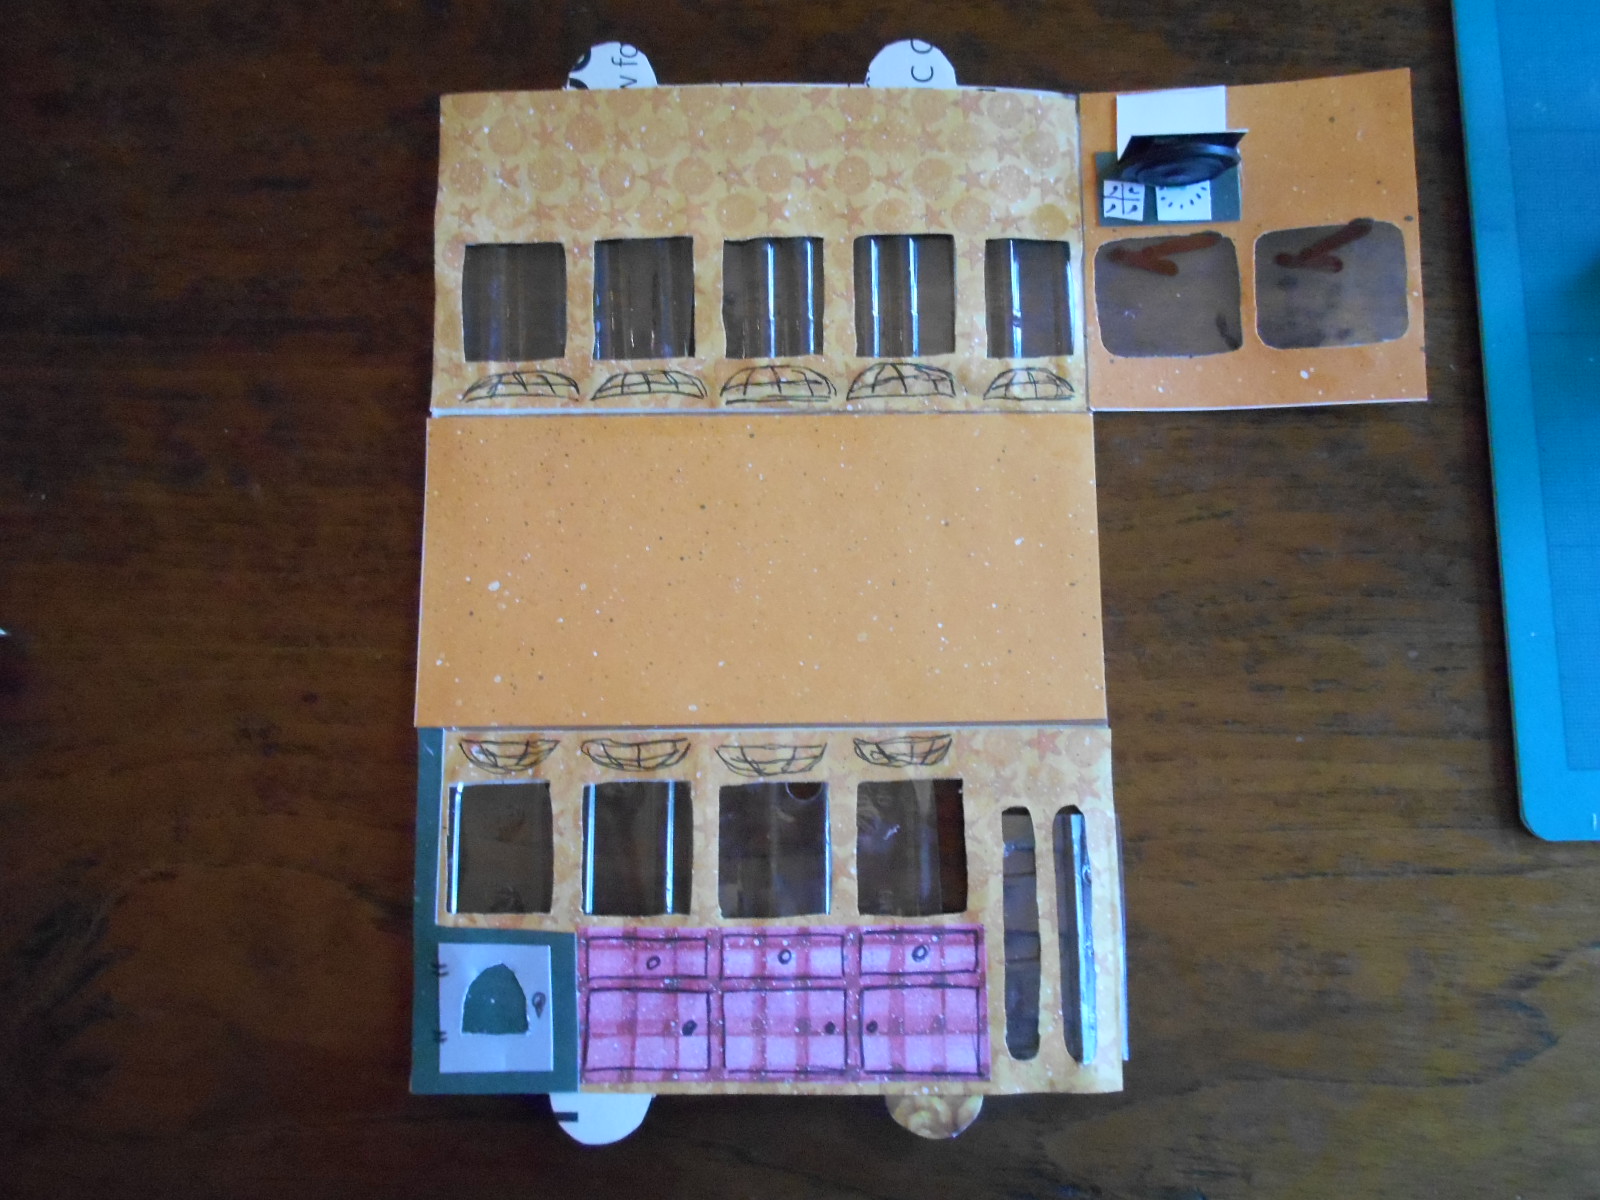
First I re-opened the cardboard model and carefully cut out its windows with a tiny pair of nail scissors

First I re-opened the cardboard model and carefully cut out its windows with a tiny pair of nail scissors

Then I cut out some clear plastic from an old fruit punnet and stuck it on the inside.  Now my windows have  'glass'!

Then I cut out some clear plastic from an old fruit punnet and stuck it on the inside. Now my windows have ‘glass’!

I covered the inside with decorative paper ...

I covered the inside with decorative paper …

... and stuck on some cupboards and a woodburner on one side, and drew some storage racks above the windows.

… and stuck on some cupboards and a woodburner on one side, and drew some storage racks above the windows.

I found some boxes of matches in the drawer and decided my husband wouldn't mind if I used the boxes - I left him the bit with the striking strip!

I found some boxes of matches in the drawer and decided my husband wouldn’t mind if I used the boxes – I left him the bit with the striking strip!

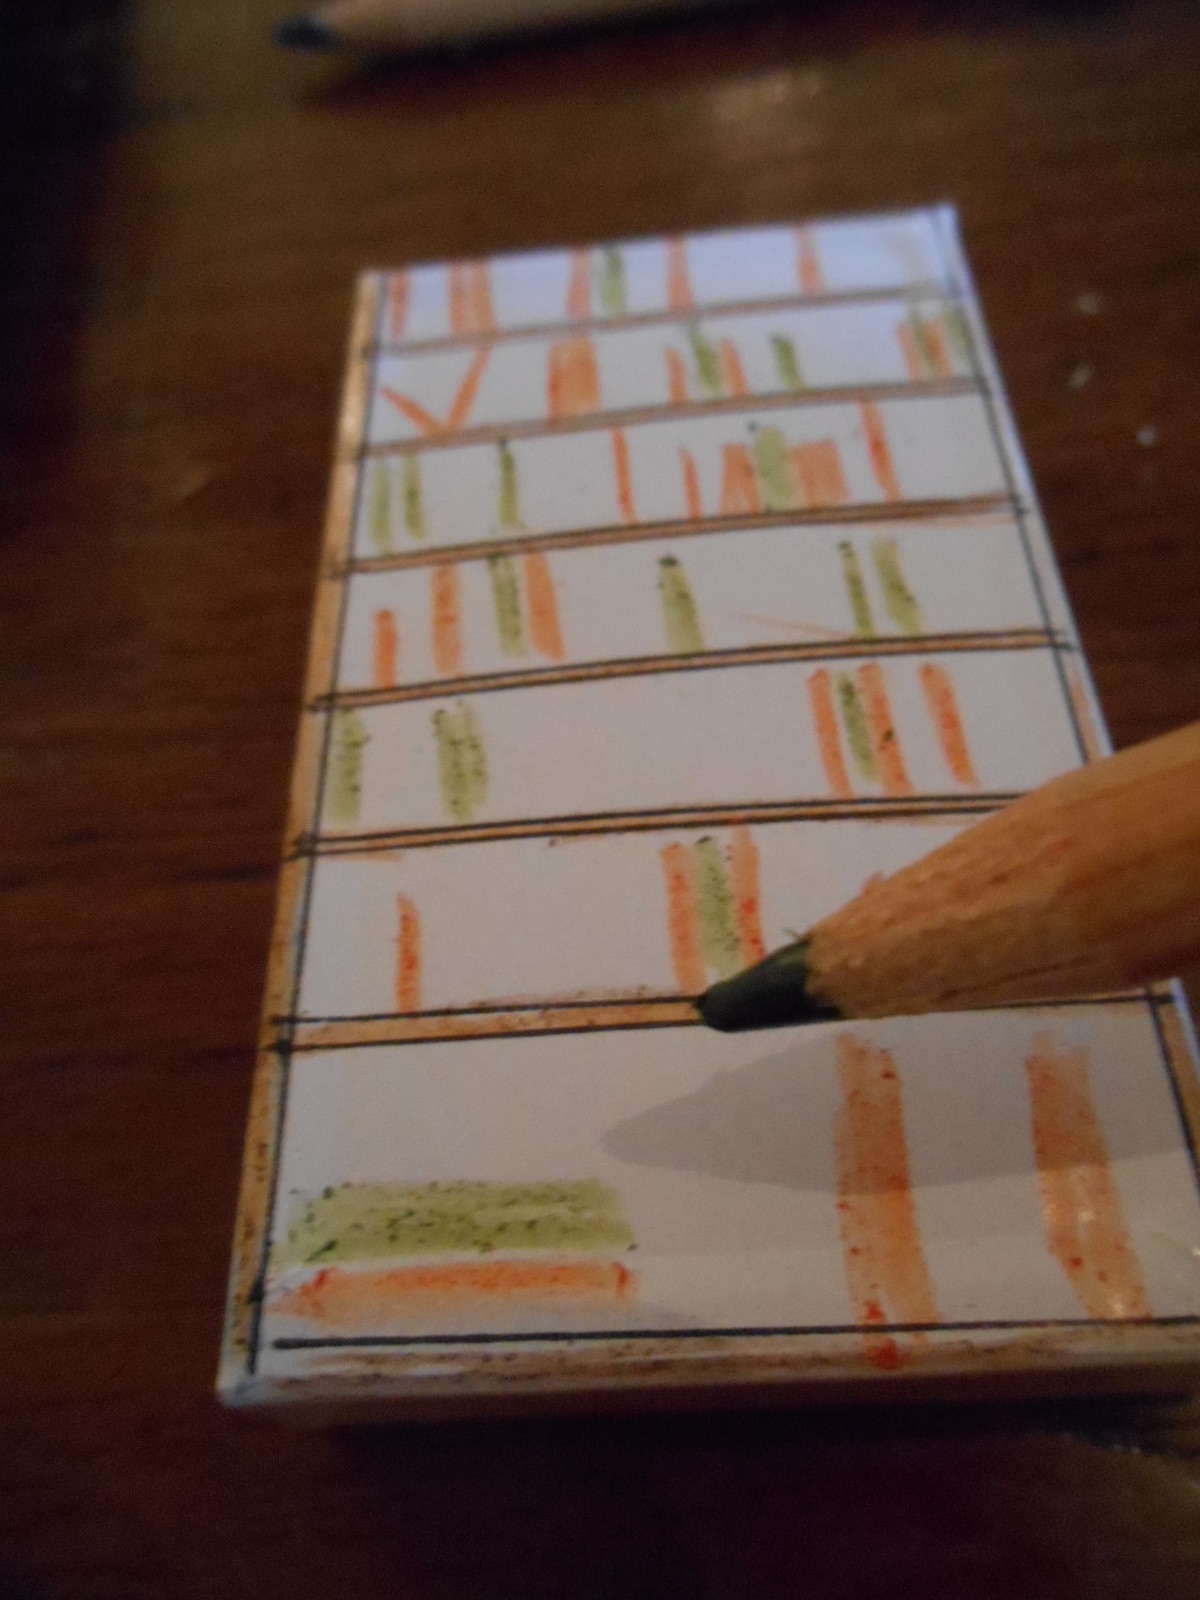
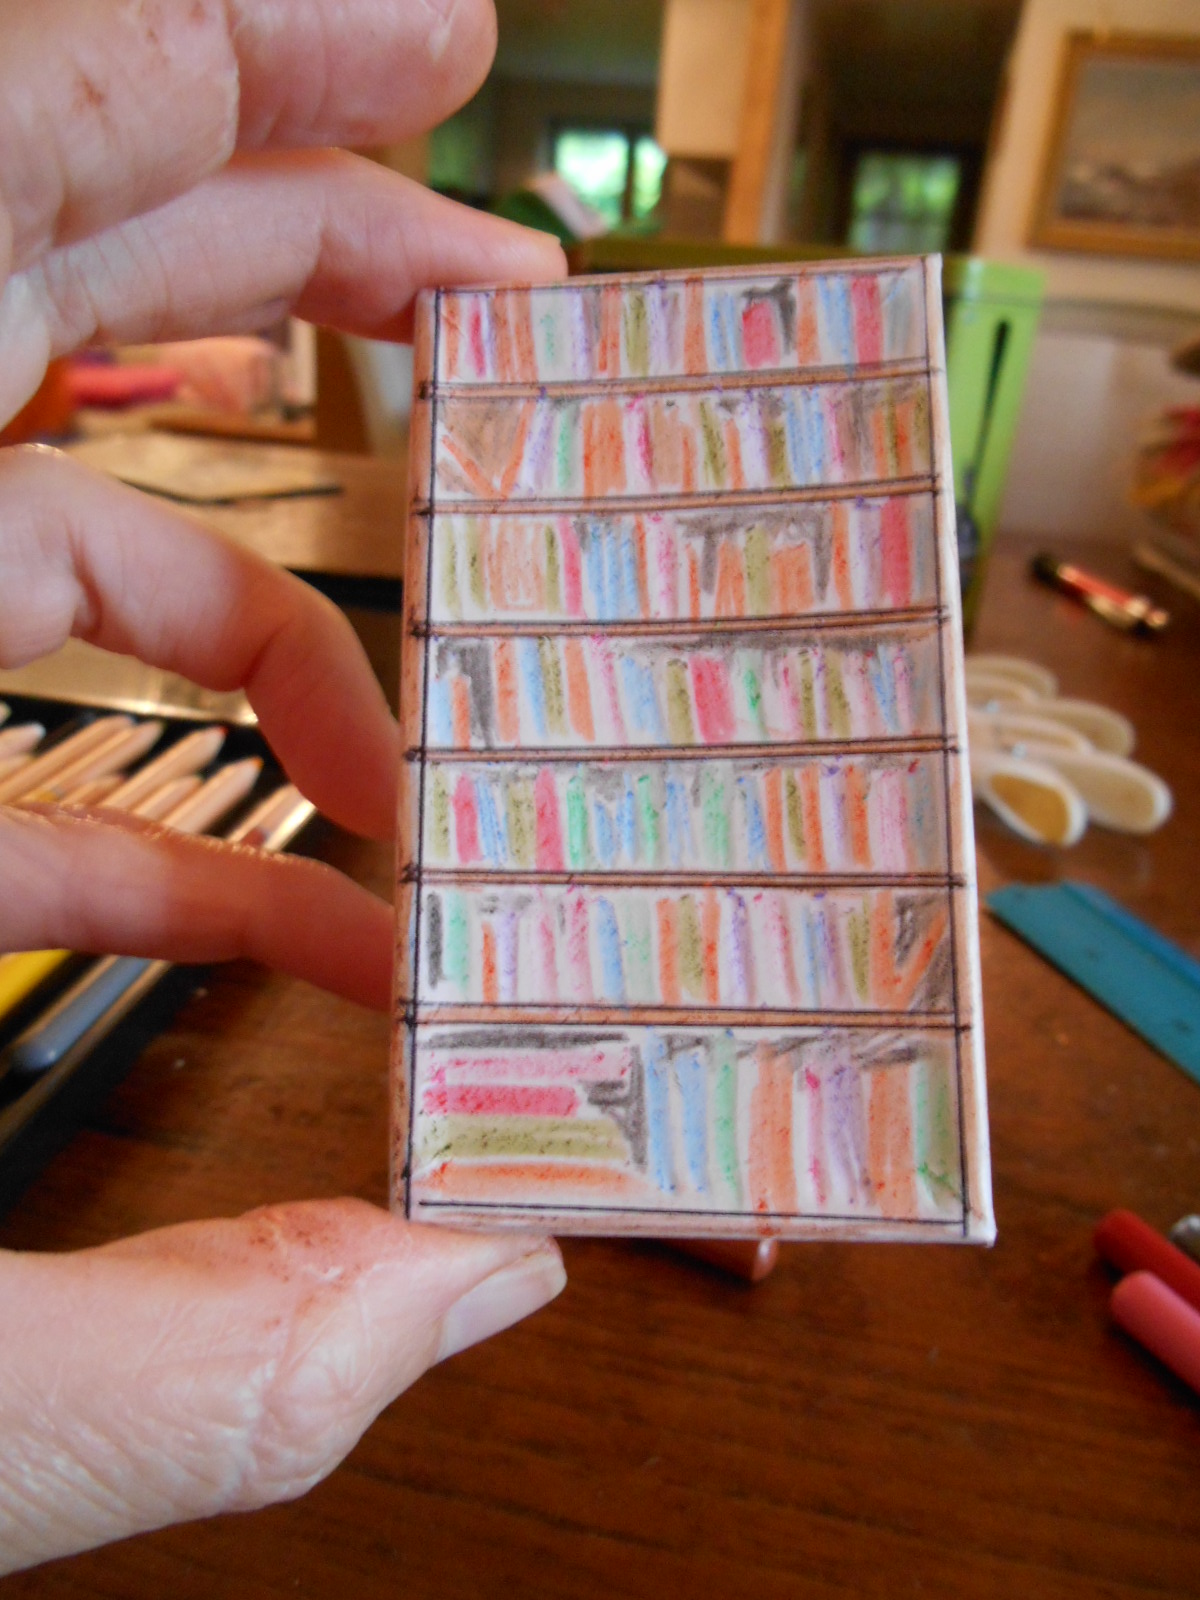
I made one of them into a bookcase and used the other two to raise the bus floor so that it was above the wheels.

I made one of them into a bookcase and used the other two to raise the bus floor so that it was above the wheels.

I drew shelves and books on the shelves ...

I drew shelves and books on the shelves …

... and coloured them with coloured pencils.

… and coloured them with coloured pencils.

Looking at the pictures I’d drawn of the inside of the bus in episode 1, I wanted to make furniture to match – ish.  So I needed a driver’s seat with a partition behind; a table and chairs behind that; and a settee behind that.  I made these out of cardboard and stuck them to another piece of cereal box, the same size as the bus roof, covered in decorative paper for the floor.  They are very basic, and too wide which is why I only had room to draw the furniture on the other side of the bus, but it doesn’t matter, I can still get a feel of how things are laid out in Old Red.

11 fully furnished

15 drivers seat

I see now that the driver’s seat is waaay too big! Oh well.

Then I re-closed the outside of the bus and slotted it over the inside.

Then I re-closed the outside of the bus and slotted it over the inside.

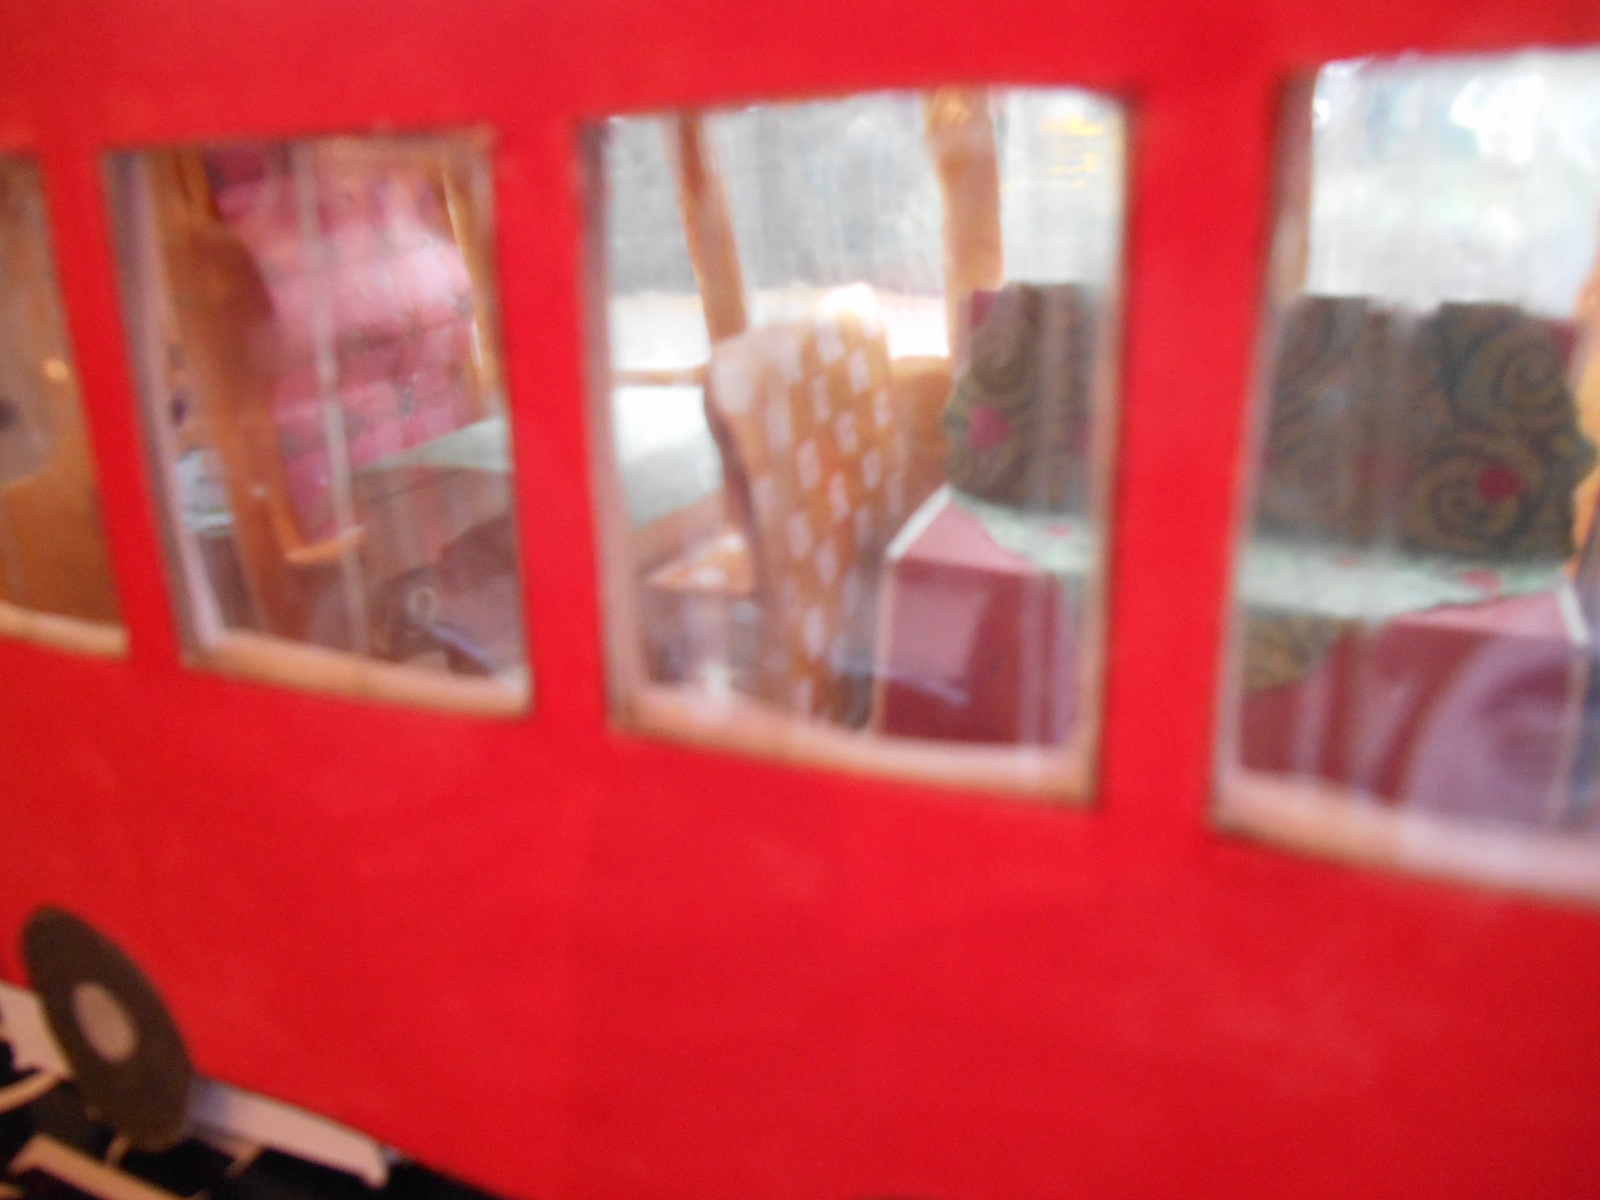
And you can see the furniture through the windows

And you can see the furniture through the windows

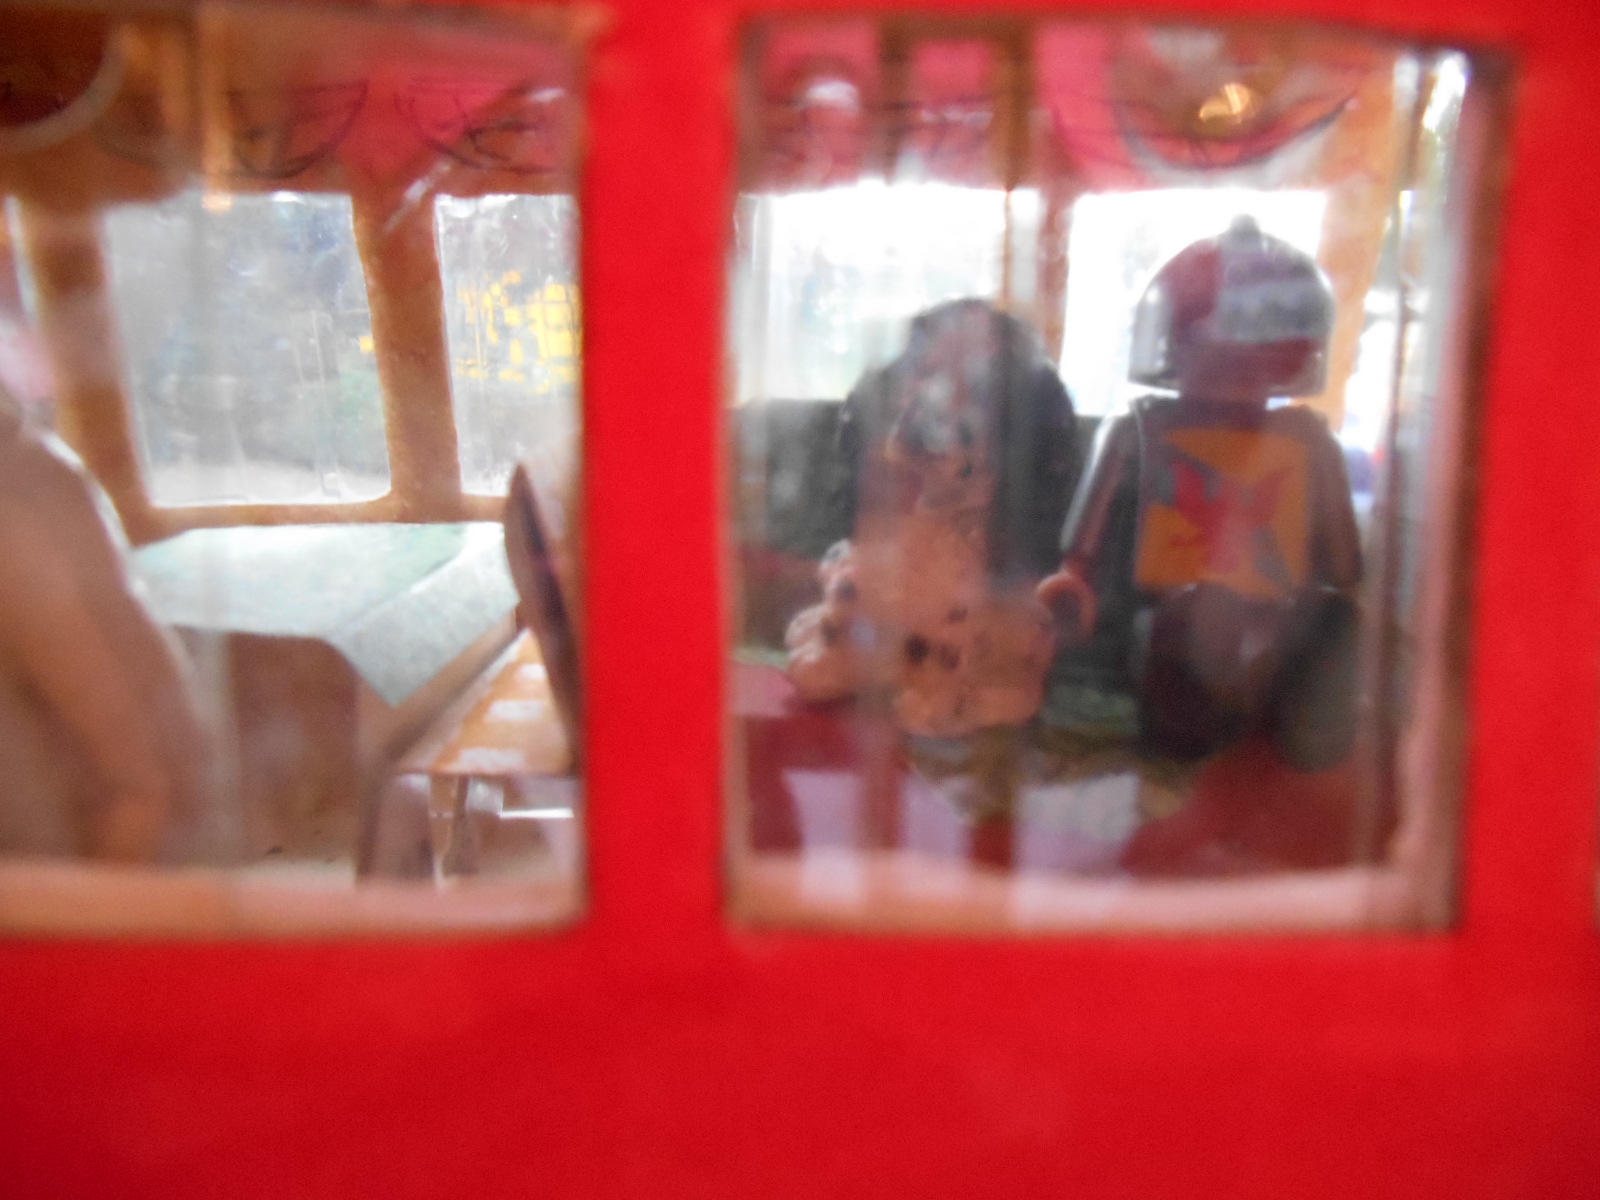
And look - there's people inside! Denzel is cleverly disguised as a spaniel and Casey is also in fancy dress - but honestly, it is them!

And look – there’s people inside! Denzel is cleverly disguised as a spaniel and Casey is also in fancy dress as a knight – but honestly, it is them!

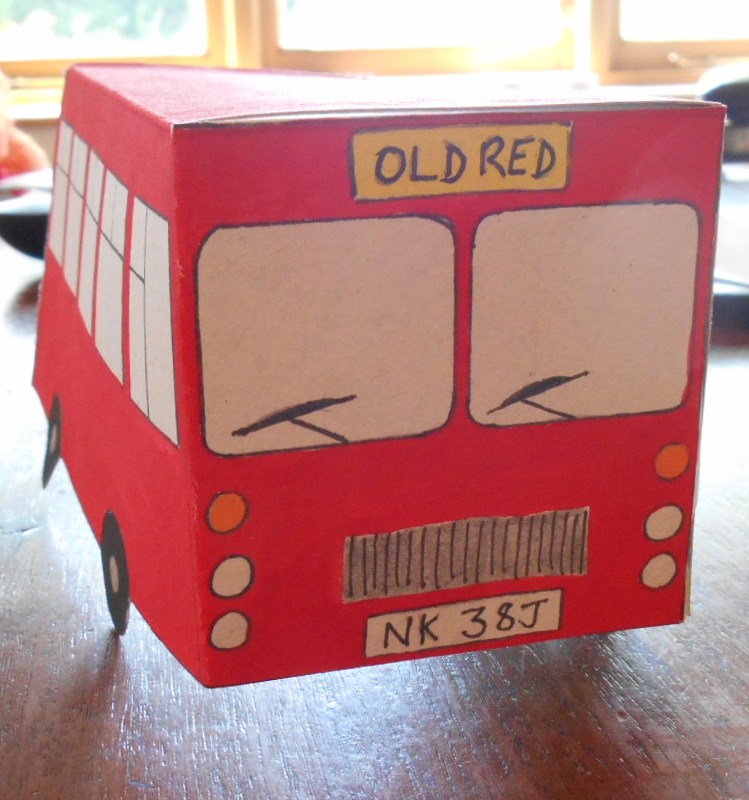
Old Red

Old Red.  What fun! Why don’t you make one?

Make a bus like the Andersons’ Old Red

cardboard bus

Take a look at Old Red in The English Family Anderson and have a go at making a model bus just like it 🙂

You’ll need:

some cardboard, a pencil, a rubber, a pen, some paint, some scissors, a ruler and some sticky tape.

some cardboard, a pencil, a rubber, a pen, some paint, some scissors, a ruler and some sticky tape.

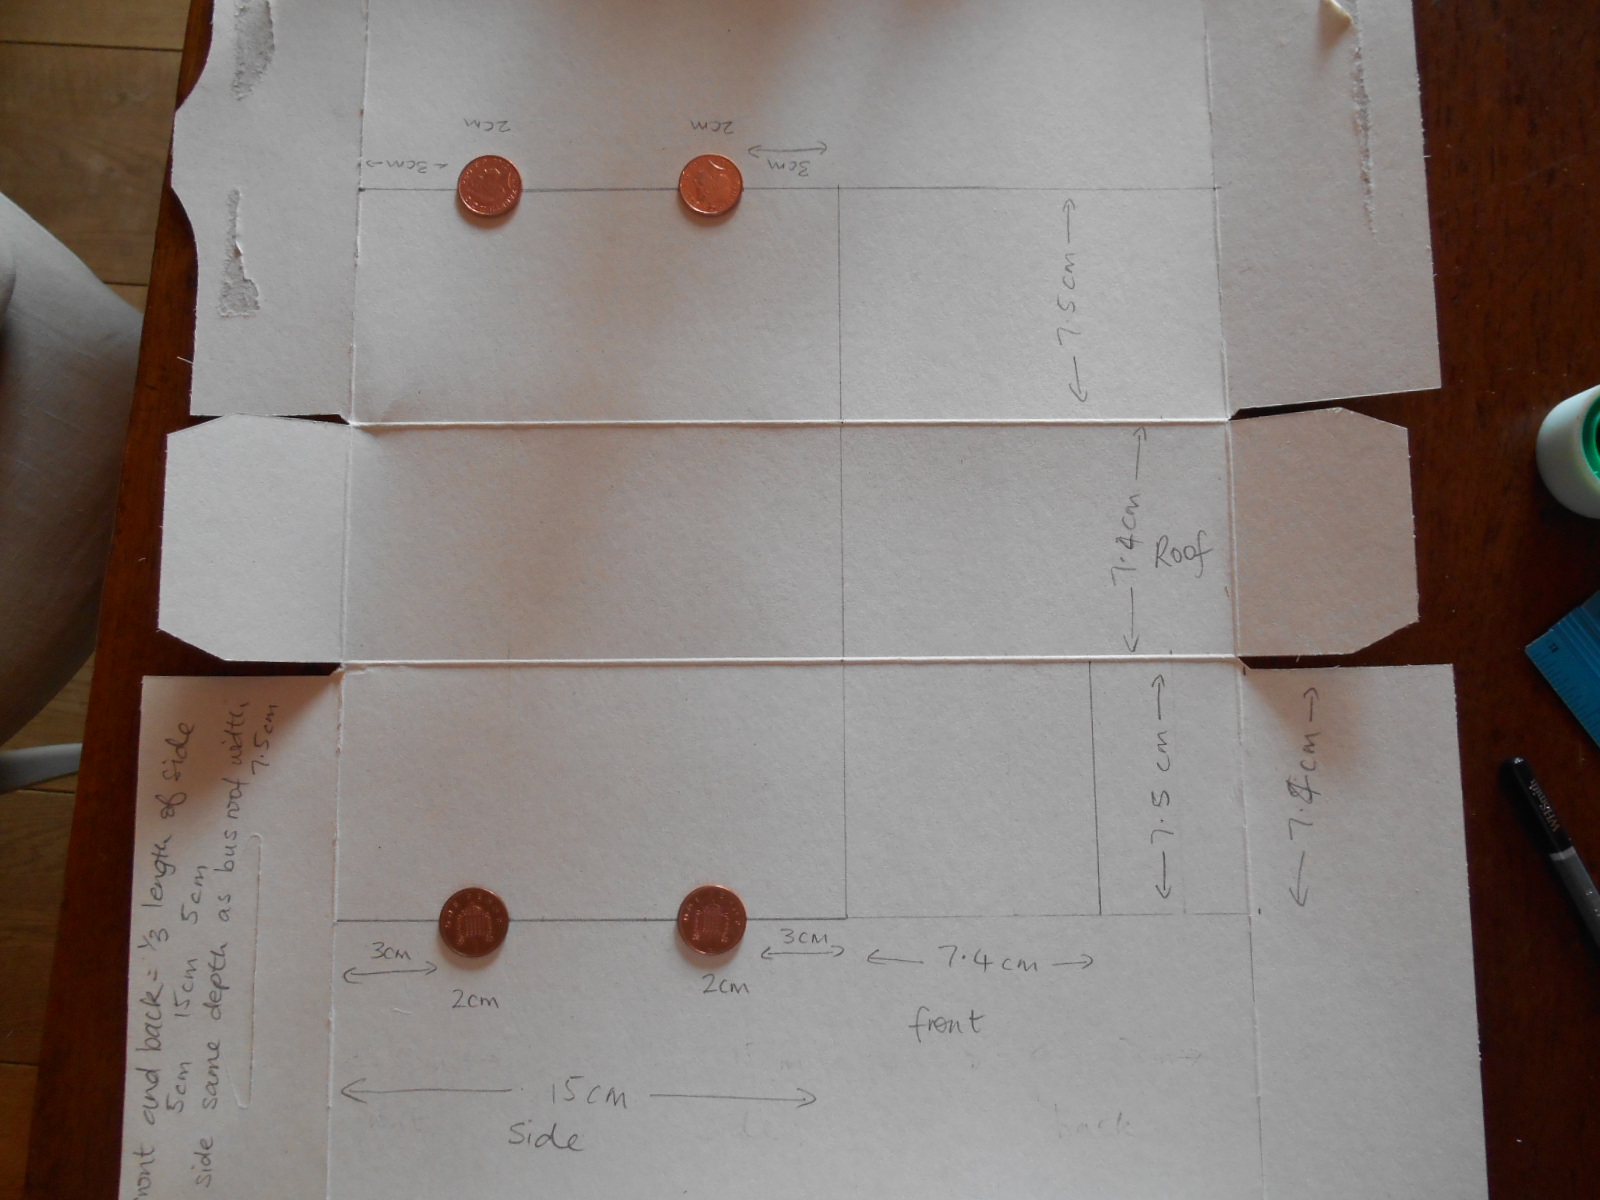
measuring it out

First measure out the shape of the bus.  Using a cereal box made it easy because I could use the side as the roof (so it already had neat folds).  The front needs to be the same width as the roof; make the length at least twice the width of the bus.  Mine came out a bit short but you can make yours as long as you’ve got room for on your cardboard.

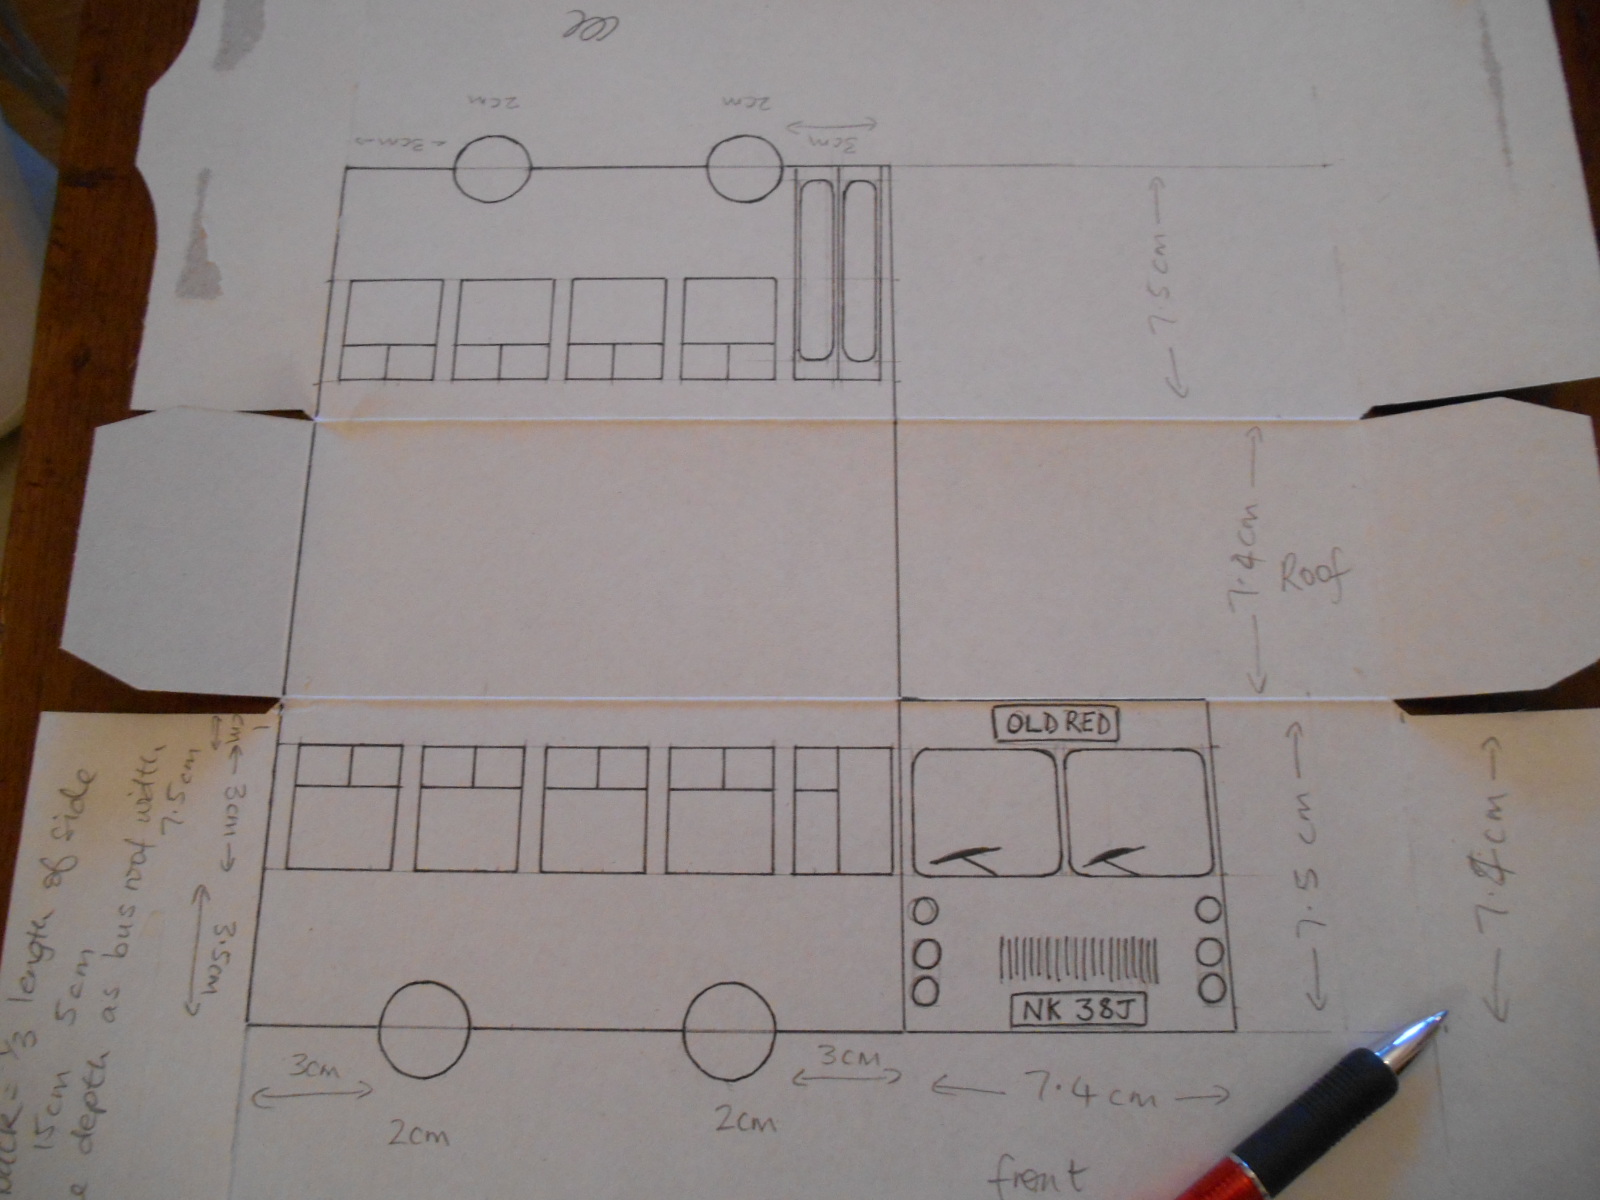
Once you’ve got the two sides, roof and front measured out you can draw in the details.  My bus is open at the back because I want to be able to furnish the inside later, but if you’ve got a long enough piece of card you can draw a back too (see the video at the bottom for how it should all be laid out).

front

windows

windows and door

When you’ve got it all mapped out, go over all the good lines in pen.

pen

Then rub out all the untidy planning lines you don’t want anymore.

rub out pencil lines

Then paint it 🙂

paint

When it’s dry, cut it out:

cut it out

Now you’ve just got to fold it and stick it.  If you’ve used a box like I have, you should already have good tidy creases between the sides and roof, but you’ll need to score a neat crease where the front folds to meet the other side.  Carefully place a ruler on the wrong side (inside) of the bus, along the line where you want to fold it, and score a line with your scissors.

score

NB: If you want to furnish the inside of the bus then take a look at this before you stick it together.  Then put a piece of tape on the top and side edge of the front of the bus (again on the wrong side)

tape

Then you can fold it and stick it to the top and other side of the bus.

It’s a bit fiddly but you’ll get there 🙂

And there you have it!

cardboard bus

model 2

model 3

I got this idea from Dylan Bryan.

Watch him do it (especially look out for his mum interrupting) I love this video* 🙂

* sadly, Dylan’s video is now deleted from youtube 😦

If you want to furnish your bus, go to Part 2 🙂

No-Bake Blueberry Chocolate Flapjacks

blueberry chocolate flapjacks

These are absolutely as good as they look!  I think they’re my best invention yet!

Want some?  This is what you’ll need:


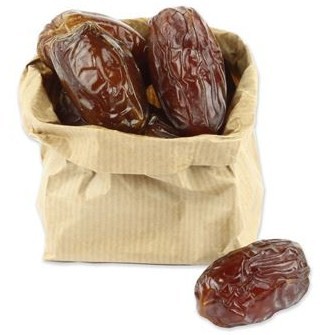
200g of fresh dates (pits removed and soaked for 2 to 3 hours)

200g of organic fresh dates (pits removed and soaked for 2 to 3 hours)

125g of organic fresh blueberries

125g of organic fresh blueberries

organic raw cacao nibs

organic raw cacao nibs (optional)

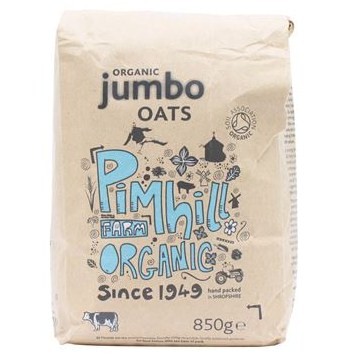
organic jumbo oats

organic jumbo oats

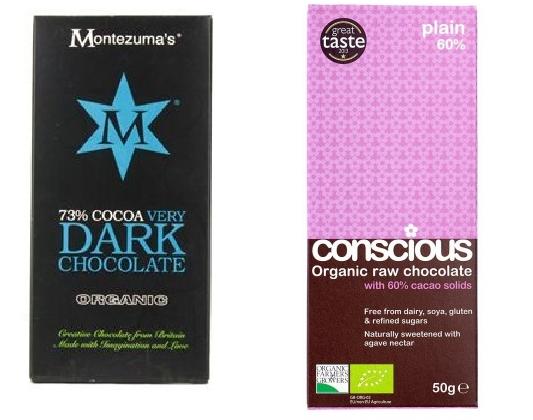
dark chocolate

vegan organic fair trade chocolate – raw if you’ve got it

1.  Drain and rinse your soaked dates and chop them in your food processor, or by hand, until they’re well mushed up and combined.  Transfer them into a large mixing bowl.

2.  Add your fresh blueberries and mix well.

3.  Add as many cacao nibs as you want and mix well.

4.  Put the whole lot back into the food processor and chop/mix it into a smooth, wet, really quite runny, mixture.

5.  Return it to the mixing bowl and add oats.  Keep adding oats and mixing until you have a stiff flapjack mixture.  Then put the lot into a flat tin, lined with non-toxic parchment paper, and press it with the back of a spoon so that it fills the tin and is uniformly flat and smooth.

6.  Put your flapjacks in the fridge while you melt your chocolate.  Put some very hot water into a large bowl; break your chocolate into small pieces and put them in a small bowl; put the small bowl to float in the hot water; don’t get water in the chocolate.  Your chocolate will melt quite quickly – keep an eye on it 🙂

7.  Then remove your tin of flapjack mixture from the fridge and cover in melted chocolate.  Chill and cut into squares when set.

8.  Enjoy your gorgeous flapjacks 🙂

blueberry chocolate flapjacks close up

I know you will 😉

Recycle an old shirt or two

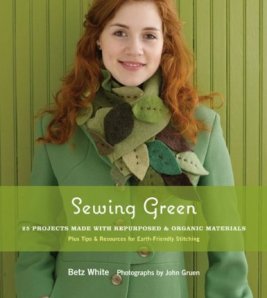
Here’s an idea I got from this book:  Sewing Green Click on the pic find it on Amazon

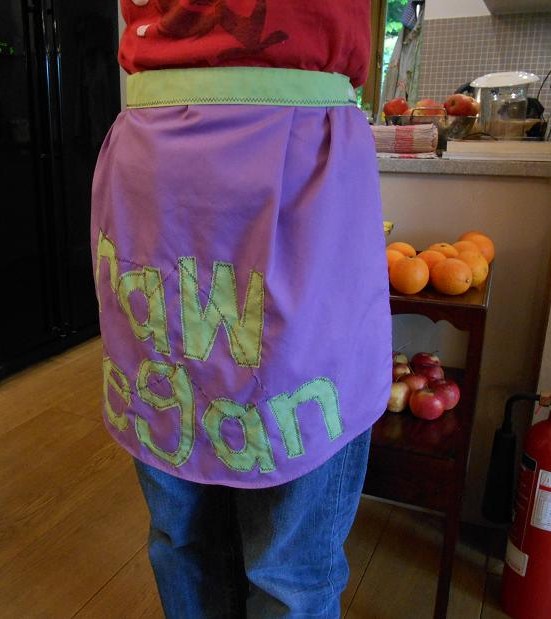
At least, I think I got it from this one but I gave it away a while ago so I’m not 100% sure.  Anyway, if you’ve got a couple of old shirts – preferably big men’s ones – lying around with nothing to do, why not cut them up and make a new apron?  My husband decided these just weren’t him any more.  Excellent! 😉

1 old shirts

So, you’ve got your hands on a couple of old shirts that nobody wants – actually you could do this with one shirt but it’s nice to have contrasting patterns and colours to work with.

2 cut the back out

Cut out the back of the shirt which is going to be the main piece of your apron.  If, like me, you don’t want to be bothered with hemming or edging, cut outside the seam (as shown here) and then your edge is already hemmed.  Cut up to the arm pit on both sides of the back and then straight across.

3 back

It should look something like this.

4 collar waist band

Cut off the collar of the other shirt (or the same one if you prefer) – this is going to be your apron’s waistband.  You only want the bit that would go around the neck, not the triangle-ish bit.  Again cut outside the stitching so that you don’t need to edge it yourself.

5 unpick collar

Then you need to unpick the bottom edge of the collar …

6 pin collar on

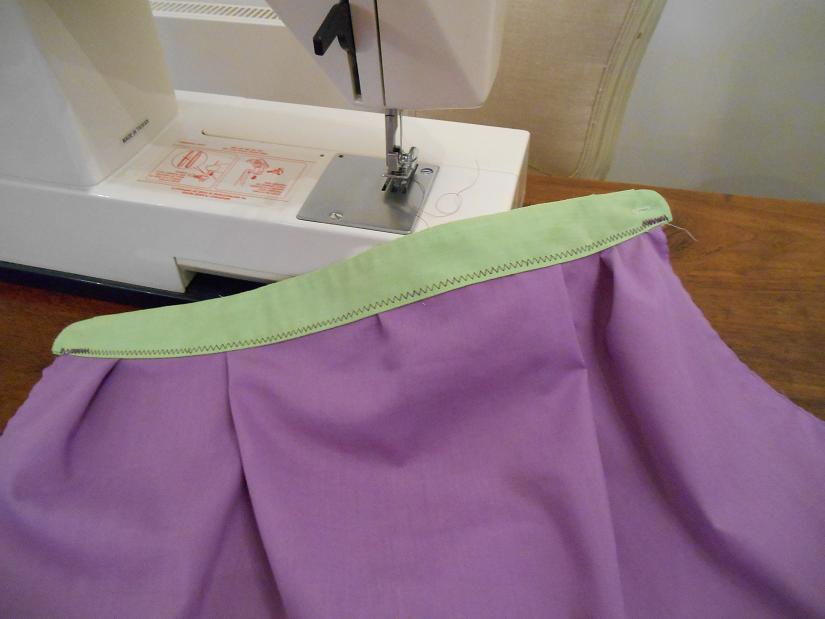
… so that you can slightly gather the top of your apron and fit it inside the collar (now waistband).  Pin it in place.

7 sew waist band on

Sew on the waistband.  I like zigzag but you could easily do this by hand.

8 cut out letters

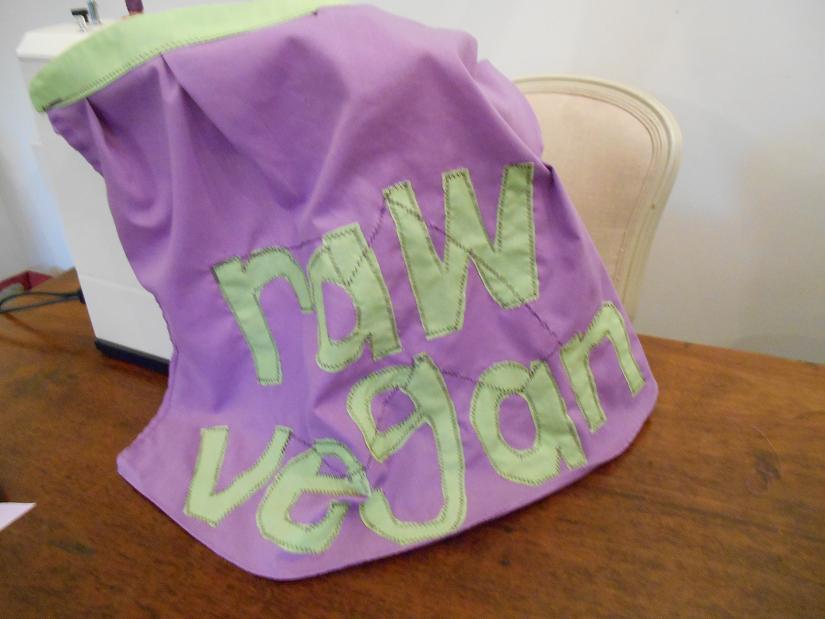
Now for your design.  You could cut out the breast pocket from one of the shirts and attach it to your apron.  I think that’s what the book tells you to do and it does look lovely but I thought “I don’t need a pocket on my apron” so I decided not to.  You could do anything you like … or nothing at all 🙂 I went with lettering.

Cut your design out of the contrasting material ….

9 pin them in place

… and pin it to your apron.

10 sew the letters on

Sew it in place.

Nearly there.  Now you just need ties.

11 ties

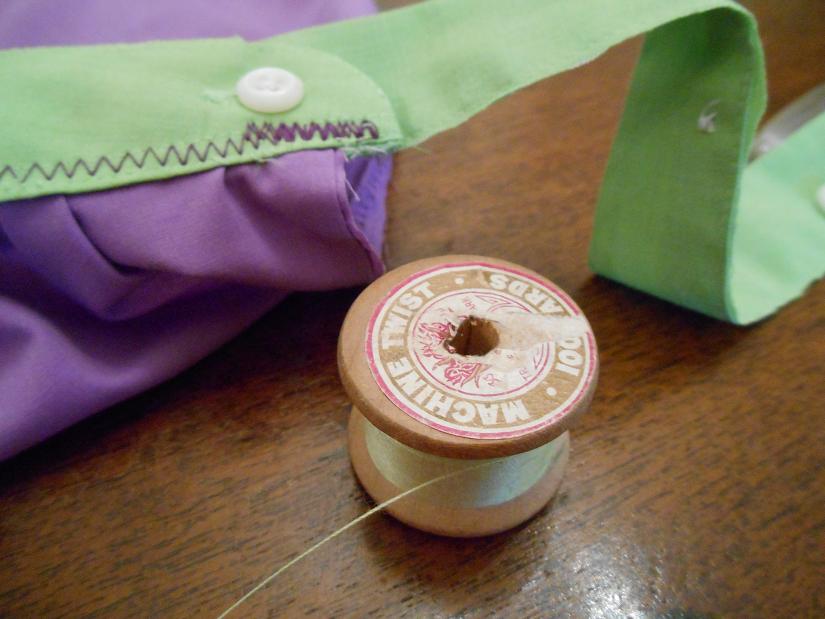
I used the shirt button bands for the simplicity.  They’re already stitched and you can attach them to the collar/waistband with buttons!

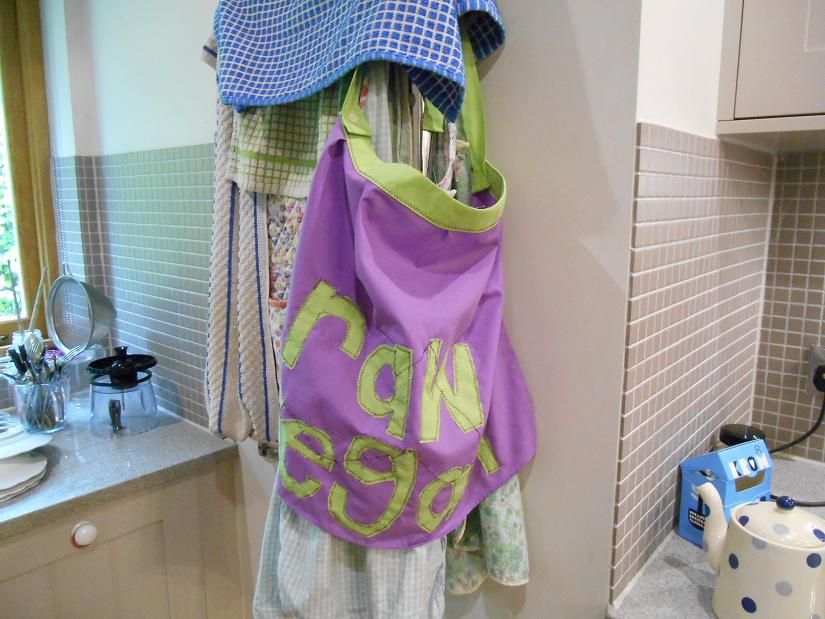
12 finished apron

13 button band ties

14 back view

15 front

16 hanging apron

Crafty Vegan

Veganism should be happy and it should be everywhere.

You can say it loud and proud without ever having to open your mouth!

sewing

Show the world your happy veganism by writing it on your stuff!

vegan upcycled bag

vegan upcycled bag front and back

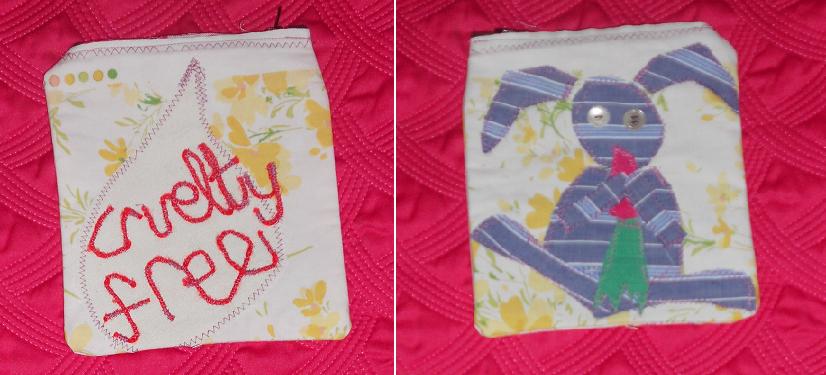
vegan upcycled pencil case

No pattern needed for these make-it-up-as-you-go bags and pencil cases made from upcycled old jeans and shirts.  Just put your imagination behind your scissors and get snipping.  Then sew your designs to your background.  The lettering (above) is made by sewing knitting yarn onto the material with zigzag machine stitch.

vegan smile bag front

This bag is different from the others in that it has no zip at the top.  Instead it has a fold-over flap that keeps your bag closed.  This is easily done by taking a rectangular piece of fabric which is a little wider than you want your bag and a bit longer than three times the depth of your bag.  Place a piece of contrasting material the same size (for the lining) with it’s right side against the right side of the outer fabric.  Then sew around 3 sides of the two of them and turn them right side out.  Tidily sew the open end together with the rough edges tucked in.

Then sew on your design(s).  If you’re doing a design on front, back and flap like this one, make sure each design will be the right way up when the fabric is folded.  Pin it first if you’re not sure.

Now, with your designs on the outside, fold the bottom of this piece up to 2 thirds of the way up – the last third will be your fold-over flap – then sew up the two sides (sew it inside out if you don’t want the stitches to show).  You should now have a bag (minus the strap) with a fold-over flap.

vegan smile bag back

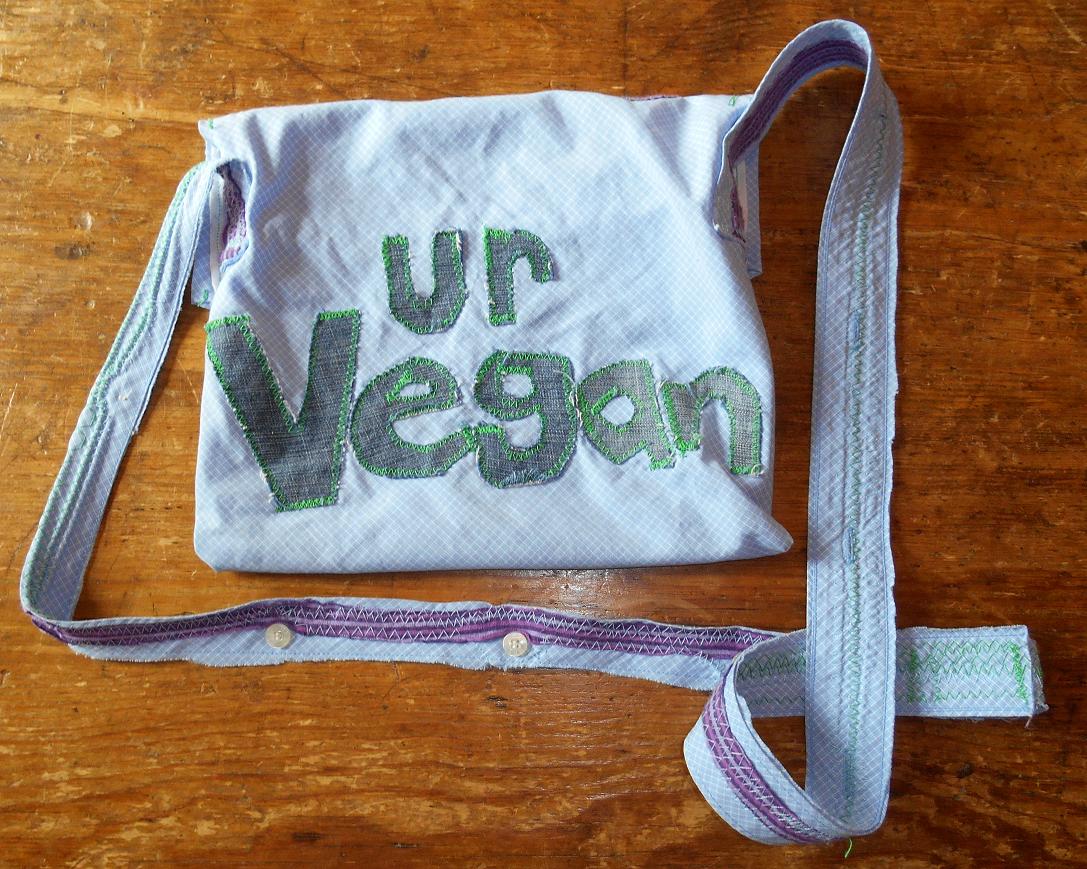
  So, you’ve got your bag, you’ve got your design on your bag, now you just need to cut your strap, sew it together if it’s in two pieces, and attach it.  This “Smile – U R Vegan” bag is made of an old shirt and some oddments of material.  The strap is the button bands of the shirt.  Make sure your stitching is strong but don’t worry about neatly hemming it – I think it looks good being a bit rough around the edges.  Button hole bands are good to use for this because half the work’s done for you as it’s already sewn double thickness.

And that’s pretty much it.  You could have a different one for every day of the week! 🙂

Say it with knitting!

knit writing

Whether it be on your clothes, a cushion cover or a patchwork blanket – you can say it with knitting!

First of all decide what you want to write.  Then make a plan.

You’ll need some squared paper which you can buy or make yourself.  Each square on the paper will represent one stitch on your needle.  So number the squares and then mark out whatever you want to write in knitting.  Once you’ve worked out how many stitches wide your whole piece will be you can cast on in your background colour, and have your contrasting colour ready to use when you come to the stitches mapped out on your plan.  As you change colours you just string the other colour across the back of the knitting ready to use next time that colour is required by your plan – you don’t cut – just keep changing between colours while keeping all yarns attached until you’ve completed your design.

knit plan

It’s important to make sure you’re counting from the right direction so that your writing comes out the right way round.  Look what happens if you don’t:

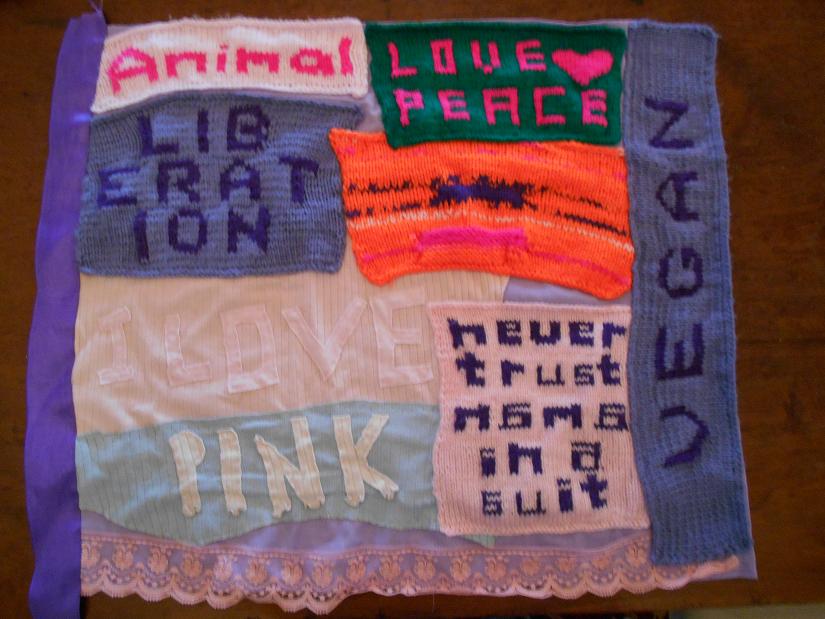
knitting word backwards

This should read NEVER TRUST A MAN IN A SUIT but the words A MAN have come out backwards because the stitches were counted from the wrong direction – ie On your plan, on a purl row the stitches should be counted from the left and on a knit row you count from the right.  Let me show you what I mean.

knit plan 2

In this picture the purl rows are indicated in purple and the knit rows in red.  When you want to produce an image or writing on your knitting you have to remember you’ll be building from the bottom right.  So, if you’re following your own pattern, starting the bottom line of your words with a knit row, you need to count from the right.  For example, the first stitch for which you’d use a different colour in this example would be the 21st stitch of a knit row which is the tail of the G.  Then, on the next row, the first purl stitch for which you’d use a different colour would be the 6th, for the bottom of the V.

Does that make sense?

So that’s it.  Be a crafty activist and make your own outspoken jumpers, hats, scarves and blankets 🙂

Oh, and if you don’t know how to knit but would like to learn, here’s a really good video to get you started:

For the right handed:

For the left handed:

Raw Carrot Cake

In celebration of …. life!

raw carrot cake

This is my modest version of Fully Raw Kristina’s Birthday Carrot Cake

I didn’t have all the ingredients on her list, nor the equipment (Vitamix and food processor) so I made do with what I had and made my own version.  Making raw recipes is a great idea for children to be able to do on their own or with little supervision because there’s no hot oven to worry about and, in the case of using these manual tools, there’s no sharp blades either.

Hand-crank BL30 manual juicer with different screens and hand-crank whisk.

Hand-crank BL30 manual juicer with different screens and hand-crank whisk.

For the base:

2 cups of carrot juice pulp

1 and a half cups of sultanas

Half a cup of medjool dates

Half a tablespoon of cinnamon

1 teaspoon of vanilla essence

For the icing:

1 and a half cups of raw cashews (soaked for 3 hours -or overnight- in the fridge)

Half a cup of filtered water

Half a cup of medjool dates

1 tablespoon of fresh pineapple juice

1 teaspoon of vanilla

Now, if you have a blender and a food processor, you can follow Kristina’s instructions, but if, like me, you’re making do without, here’s how I suggest you continue 😉 :

First put the carrots through the juicer and collect the pulp. Put 2 cups full of pulp into a mixing bowl.

Then take the juicer apart, rinse it and put it back together, replacing the holey screen with the smooth one.  Put the sultanas, followed by the dates (after you’ve cut out the pits) through the juicer.  These come out as a stiff, sticky rope of fruity goodness.

Add the mushed sultanas and dates to the carrot pulp and mix well.  Your food processor is your arm and a large fork.  Really get stuck in and combine that stuff!  It’s not easy – I had to sit down! – but think how much you will have earned that cake when you’ve finished! 🙂

Then add the cinnamon and vanilla and mix well.  When you’ve got a moist mixture with all the ingredients and flavours well-combined you’re ready to mould it into a cake shape.

Cut a circle of parchment paper to fit the removable bottom of your cake tin.  Then cut a rectangular piece to line the sides of the tin.  Spoon your mixture into the lined tin and press it down so that it fills the bottom evenly.  Place the tin in the freezer for an hour to help the cake set in this shape.  While it’s setting, wash up your juicer and bowl and everything so that you can use it all again to make the icing.

Put a little fresh pineapple or lemon if you’ve got it, through the juicer (using the holey screen) and put aside 1 tablespoon of juice.  Then change to the smooth screen and put your soaked cashews through the juicer (after draining and rinsing with fresh filtered water).  Put the mushed cashews into your mixing bowl.

Put your pitted dates through and add the resultant sticky rope to the cashews.  Mix well -and again this is going to require some effort – with a fork.  Add half a cup of filtered water, plus 1 tablespoon of the juice you made and 1 teaspoon of vanilla essence.  Mix it all well with your fork.  You will notice it’s not as smooth as Kristina’s but as long as you’ve got all the flavours well combined it will taste just as delicious.  To make it as smooth as possible I also gave it a good whisk with my hand-crank whisk.

Put this mixture into the fridge and wait until your cake has been in the freezer for a full hour.

Now, this is the exciting bit where you see all your hard work come together:

Take your tin out of the freezer and carefully push the base of your tin up to remove the cake.  Slide the paper off the base of the tin and onto a plate.  Your cake should now be standing proudly, unsupported, on your plate.

Take your soft nutty icing out of the fridge and cover your cake.  Add decorative nuts or fruits if you like.

And that’s it! 😀

Slice it carefully, and then remove each slice with a pie-slice (triangular thing) if you’ve got it, and share it with lucky family and friends.  Keep what’s left, if any, in the fridge.

3 slices of raw carrot cake

This is delicious and incredibly sweet – though my family says “absolutely not too sweet!”

And I can now confirm that it tastes even better on day 2, and sooooo good on day 3.  After that it was all gone 😉

Make some sugar-free jam – you know you want to!

sugar free jam

If you want jam but not sugar (nor other added sweetener either) then this is the recipe for you!

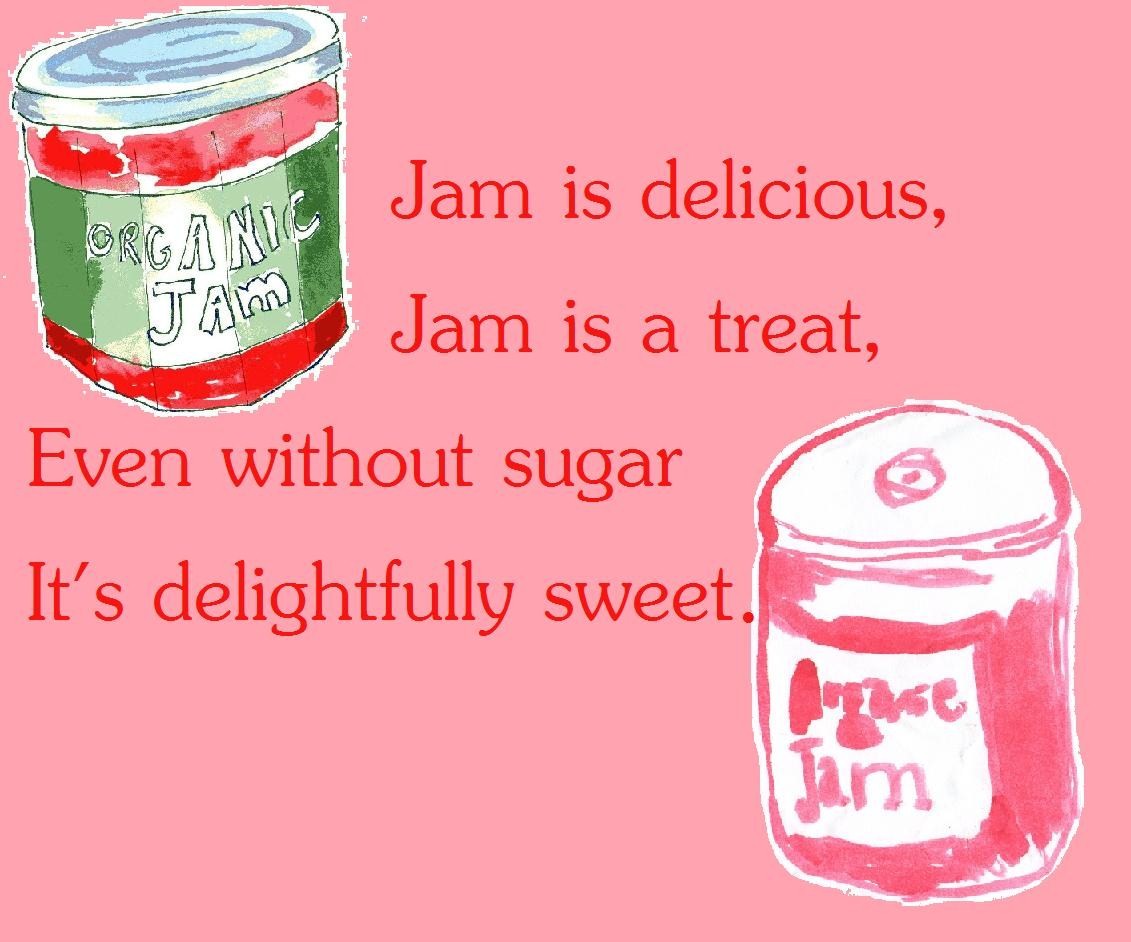
In the inventor’s own words “This recipe for strawberry jam does take some time to make in the absence of sugar or a natural sweetener, but the end result is pure strawberry goodness. It is definitely sweet enough and has an amazing buttery smooth and creamy consistency. I guarantee that if you like fresh strawberries, you will love this recipe.”

So go on, pop over to this website – Living Healthy with Chocolate dot com – and give it a go!

I know I’m going to! 🙂

Ladybird Ladybird

Ladybirds are good for the garden as they will eat the insects that hurt your plants.  A ladybird house, as well as planting things they like (like dandelion and fennel), will encourage ladybirds to stay in your garden because it provides them with a safe roosting place during cold and frosty nights in early spring and a safe place in which to hibernate in winter.

So why not make one?

how to build a ladybird house

Put your bug house under a shrub or against a wall where it is warm and sheltered but not hot.

bamboo ladybird house

And if you’re feeling a bit more ambitious look at this! Amazing!

Don’t use chemicals in your garden, encourage nature to do the work for you 🙂

Easy Vegan Christmas Treats

easy vegan treats

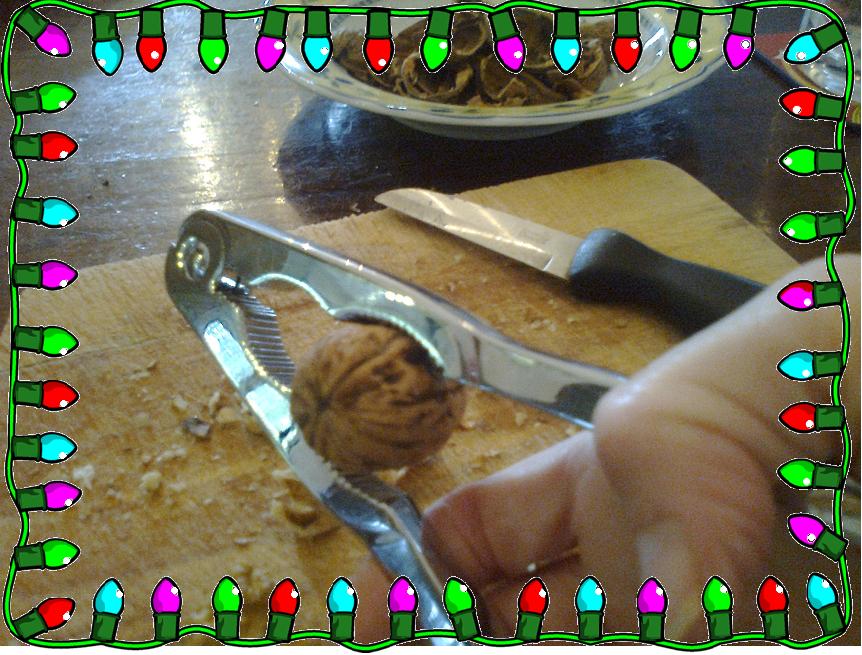
Crack some lovely nuts

easy vegan treats

Chop the nuts into little bits – or big bits, it’s up to you

easy vegan treats

Chopped nuts

easy vegan treats

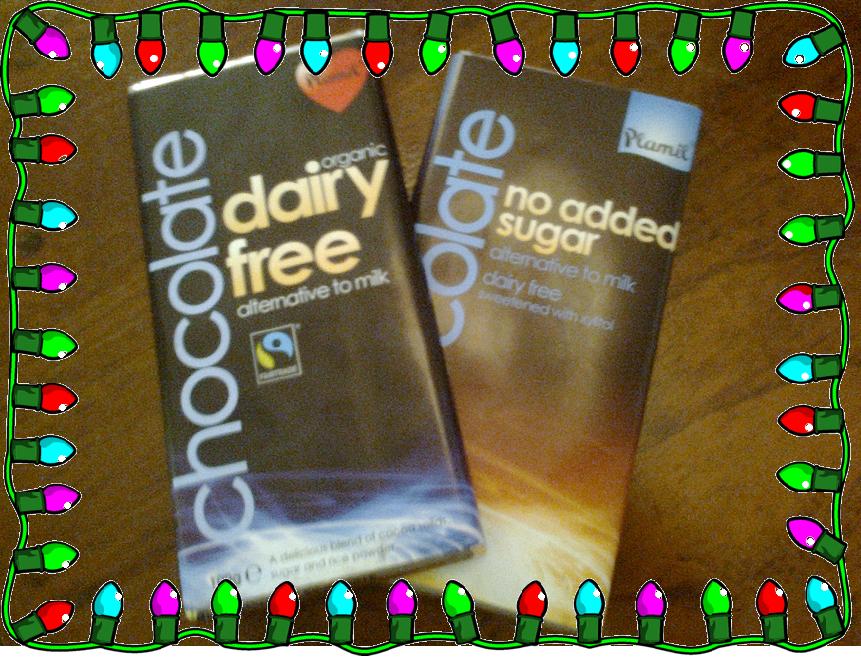
Grab some gorgeous vegan organic fair trade chocolate

break it up and put it in a small dish

break it up and put it in a small dish

easy vegan treats

Float your small dish in a big bowl of hot water – careful not to scald yourself and don’t get any water in with the chocolate. Let it sit and melt.

easy vegan treats

Add a good portion of sultanas – or whatever dried fruit you fancy – to the chopped nuts

easy vegan treats

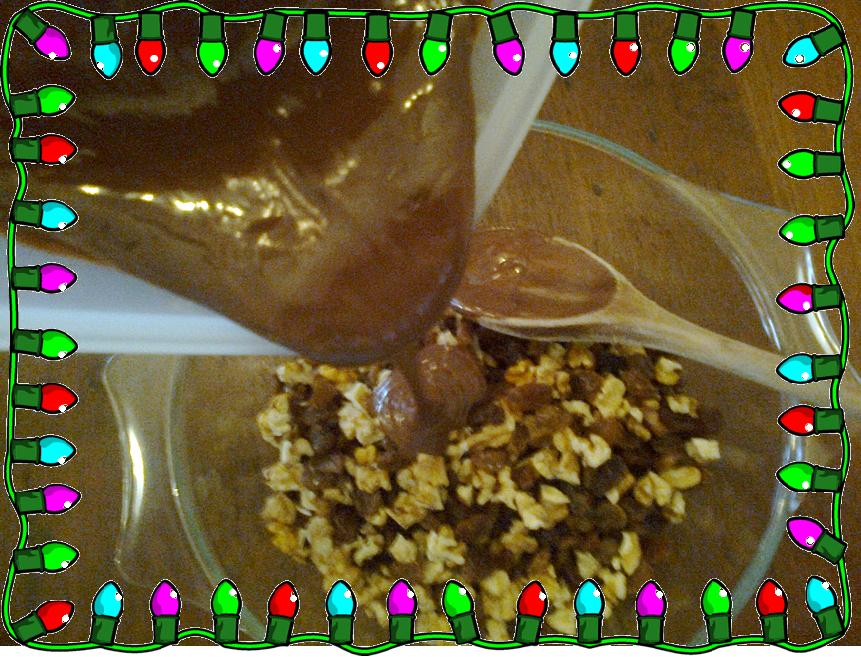
Put the fruit and nuts into a larger clean bowl and when the chocolate is completely melted pour it in with them and mix well

Line a baking tray with greaseproof paper and spread your chocolate fruit and nuts over it

Line a baking tray with greaseproof paper and spread your chocolate fruit and nuts over it.  Bung it in the fridge.

easy vegan treats

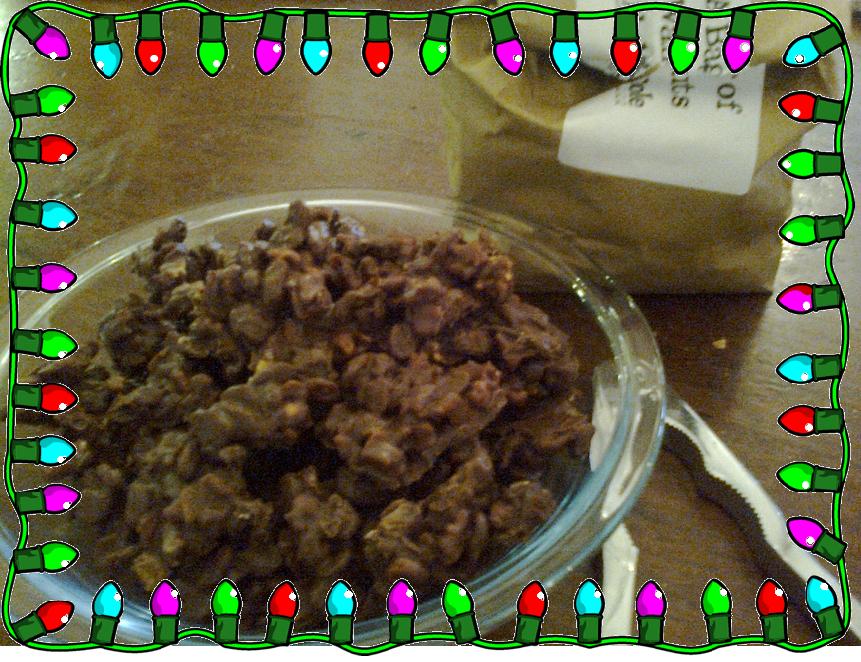
When it’s set hard, break it into chunks

easy vegan treats

Put all your chunks into a dish and return it to the fridge.

See – easy! 😀

BUT BE WARNED – THESE SWEETS ARE SO GOOD THEY MIGHT NOT LAST LONG!

HAPPY CHRISTMAS 😀 

Make Your Own “Helping Venus” Game

*

Venus works hard trying to clean up the rubbish in the ocean in order to save the animals who are being poisoned and ensnared by it.  But since 80% of the rubbish in the oceans originates on land, it’s impossible for her to keep her beloved sea clean.  So, the rest of us need to make sure that all our rubbish is properly disposed and not littered.  More than that, we need to actually pick up other people’s litter in order to protect wild animals and help Venus.

 Yuck!  That sounds like a dirty job, and it’s important to take care not to pick up anything dangerous like broken glass or needles (ask a grown up to deal with that stuff) but if we don’t do it, who will?  Of course it would be better in the long run if we stop buying things that don’t degrade harmlessly in the environment – namely plastic – and then this nasty litter problem might be solved.

Anyway, I’ve invented a board game that you can make for yourself and all you need is paper; something with which to draw or paint; stones or buttons or whatever little things you’ve got lying around to use as counters; and a dice pinched from another game.

1.  Paint an aerial view (map-type) picture of Venus’s home town (it doesn’t have to be the same mine, you can use your imagination 🙂 )

 2.  Add places to visit, like shops and cafes

3.  Then add ways to score points like picking up litter; refusing to buy plastic items; recycling what you’ve found or bought; and freeing animals who have been trapped in cages.

4.  Finally add stepping stones which link all these places on your map.

Now your picture should look something like this:

game 2
IF YOU CLICK ON THIS PIC YOU WILL MAGNIFY IT SO YOU CAN SEE IT BETTER

NOW YOU’RE READY TO PLAY!

Imagine you have come to visit Venus and are staying at the campsite (place all the counters at the campsite to start).  But Venus is out diving, cleaning up the rubbish in the sea, so while you’re waiting for her you can explore the town.

Each person rolls the dice and the one with the highest score starts.

When you roll the dice you move that number of spaces (stepping stones) from the campsite.  You can go in any direction but you can’t change direction in the middle of one roll.

The idea is to go around the town, accumulating points by landing on the award-giving spots.  You have to roll the exact number to land on the award-spots (and that doesn’t mean the stepping stone next to the award-spot – you actually land on the award-spot).

You can go around the town as many times as you like and land on the same awards more than once, but if you go back to the campsite the game will be over.

In other words, the game can last as long as you like.  As soon as the first person gets back to the campsite, the game is over and you add up all your points.  The person with the most points is the winner (not the first person back to the campsite).  So, you need to be aware of when you are in the lead on points and then get back to the campsite as quick as you can before someone else overtakes your score.

It’s fun and very easy to make 🙂