How to make Mildred and the Girl Scout twins rag dolls!

How to make a vegan superhero rag doll.

I followed the pattern from this youtube video:

How to sew a doll by hand – YouTube by Root and Stitch. She also has videos of how to make rag dolls with a sewing machine. I chose to cut the legs off the pattern and sew them on separately.

How to make a vegan superhero rag doll.

*

Following the pattern I downloaded from Root and Stitch, I chose the colours of fabric that I needed for Mildred’s face, top and dungarees, and cut them out to fit the pattern generously.

How to make a vegan superhero rag doll.

*

And sewed them together.

How to make a vegan superhero rag doll.

*

Fold it in half (right sides together) and sew, leaving an open end to add stuffing.

*

Turn it right side out. 😀

How to make a vegan superhero rag doll.

*

Then stuff with kapok.

How to make a vegan superhero rag doll.

*

Sew on the legs. 😀

How to make a vegan superhero rag doll.

*

Make arms and sew them on.

How to make a vegan superhero rag doll.

*

Add neck ties for the Girl Scout Twins, and stitch their belts on.

How to make a vegan superhero rag doll.

*

Next it’s time to make hair!

How to make a vegan superhero rag doll.

*

I cut out a generous piece of fabric for the hair on the back of Mildred’s head, and pinned it to make it tidy. And cut out two half-circles for the hair on Mildred’s face.

How to make a vegan superhero rag doll.

*

I pinned it into place and sewed it on.

How to make a vegan superhero rag doll.

*

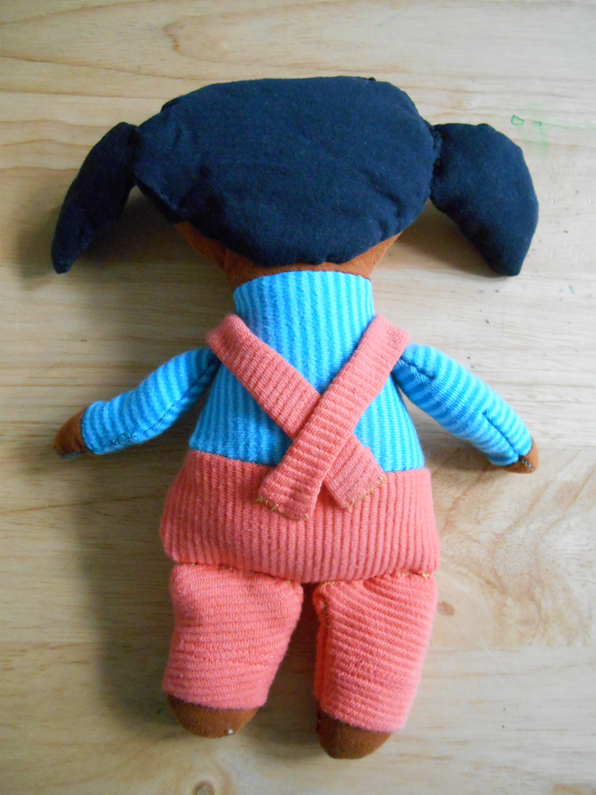
Then I cut out pieces of fabric for Mildred’s bunches, sewed them, turned them right side out, stuffed them with kapok and sewed them on.

How to make a vegan superhero rag doll.

*

For Claudia’s hair, I used yarn. I stitched it on down her centre parting, all the way down the back of her head, and then added more stitches either side of her head, to hold her hair in position.

How to make a vegan superhero rag doll.

*

Next I sewed their faces on.

How to make a vegan superhero rag doll.

*

Next I made a hat for Claudia.

How to make a vegan superhero rag doll.  A hat for Claudia.

*

And there you have it! Lovely vegan rag dolls.

How to make a vegan superhero rag doll.  Finished!  Mildred front.
How to make a vegan superhero rag doll.  Finished!  Back.

*

How to make a vegan superhero rag doll.  Claudia and Gerty Girl Scout twins finished.
How to make a vegan superhero rag doll.

*

Please let us know if you make yourself some lovely vegan superhero rag dolls, we’d love to see them.

Have a great weekend!

Violet's Vegan Comics logo

Make a Cute Rag Mouse

Rag Mouse

Here’s how to make an adorable rag mouse like this one:

Cut out the main head and body piece for your cloth mouse. I used a rectangle, folded in half. With right sides together, stitch around the edges, leaving one end open for stuffing.

Choose a different fabric for your arms and legs. Cut strips about the same length as your main piece, as wide as you want them, with room to spare for turning back the right way around after sewing.

Fold it in half (right sides together) and sew, leaving an open end to add stuffing.

Make another one, then turn them right side out. 😀

Then make legs. You can make long legs, the same as the arms, or little legs. Either way is fine, so do whichever you fancy. I’ve done little legs this time.

Stuff them all with kapok. If you don’t have kapok you could use old socks to stuff them, or fabric cuttings. I have done this with some of my mice, it just makes them a little bit heavier, and somewhat lumpy. When they are stuffed, sew them together! Remember that your main piece is head and body, so the arms go a little higher than half way down, depending on how big a head you want your mouse to have. 😀

Next cut out some fabric squares to make the ears. Sometimes I make very tiny ears, this time I made big ears, then I sewed them right sides together, trimmed the edges, and turned them right side out. Make two. (You probably noticed that I have used pinking shears to cut my material. You don’t have to do that but it’s good for preventing the fabric from fraying).

Then tuck the ears over the top corners of the mouse’s head and sew them on, like so:

*

Next you need to make a nose for your mouse. Cut three triangular pieces and then, putting their right side edges together, sew them together lengthways, to their points – I’m not explaining this very well – look at the diagram below 😀 Leave the base ends open, turn right side out and fill with stuffing.

Then tuck in the edges, and sew the nose onto the mouse’s face.

Next your mouse will need some eyes. I sewed over and over in one place to make these eyes, but you could sew circles of fabric on, or use buttons.

Now your mouse needs a tail 😀 This time I folded a length of fabric up so that the edges were tucked in, and sewed it over, but I have also used ribbons and oddments in the past. Attach the tail to the back of the mouse’s body.

Now your mouse is finished! I bet he’s cute 😀 Send me a photo, I’d love to see him or her ❤ Here’s some I made earlier:

You can make lots of friends for your mouse, in all shapes and sizes. Here are some I made earlier:

rag mouse

*

rag mice
rag mouse

*

So there you have it 😀 A word of warning – once you start making rag mice, you may find it difficult to stop 😉