
Here’s an idea I got from this book:  Click on the pic find it on Amazon
At least, I think I got it from this one but I gave it away a while ago so I’m not 100% sure. Anyway, if you’ve got a couple of old shirts – preferably big men’s ones – lying around with nothing to do, why not cut them up and make a new apron? My husband decided these just weren’t him any more. Excellent! 😉

So, you’ve got your hands on a couple of old shirts that nobody wants – actually you could do this with one shirt but it’s nice to have contrasting patterns and colours to work with.

Cut out the back of the shirt which is going to be the main piece of your apron. If, like me, you don’t want to be bothered with hemming or edging, cut outside the seam (as shown here) and then your edge is already hemmed. Cut up to the arm pit on both sides of the back and then straight across.

It should look something like this.

Cut off the collar of the other shirt (or the same one if you prefer) – this is going to be your apron’s waistband. You only want the bit that would go around the neck, not the triangle-ish bit. Again cut outside the stitching so that you don’t need to edge it yourself.

Then you need to unpick the bottom edge of the collar …

… so that you can slightly gather the top of your apron and fit it inside the collar (now waistband). Pin it in place.
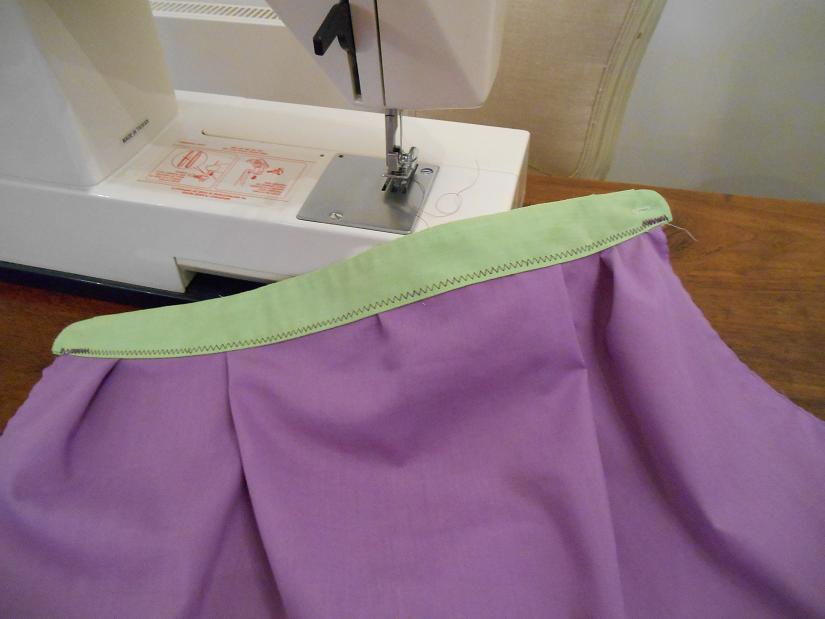
Sew on the waistband. I like zigzag but you could easily do this by hand.

Now for your design. You could cut out the breast pocket from one of the shirts and attach it to your apron. I think that’s what the book tells you to do and it does look lovely but I thought “I don’t need a pocket on my apron” so I decided not to. You could do anything you like … or nothing at all 🙂 I went with lettering.
Cut your design out of the contrasting material ….

… and pin it to your apron.
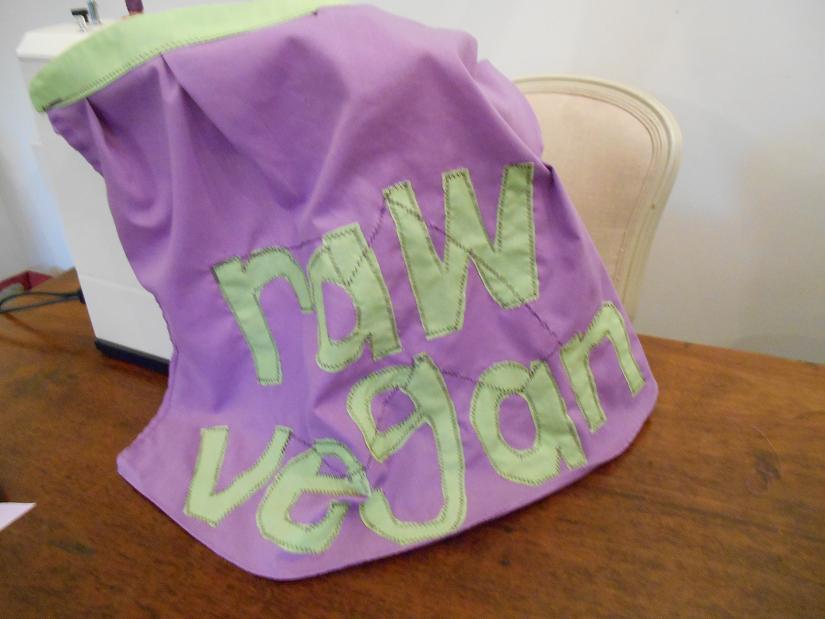
Sew it in place.
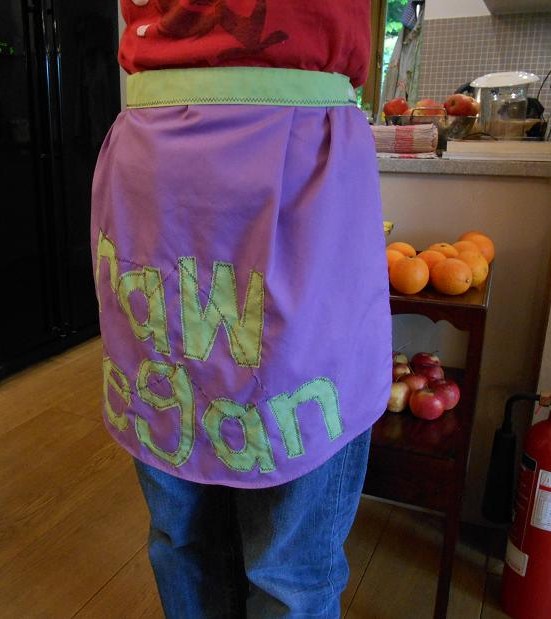
Nearly there. Now you just need ties.
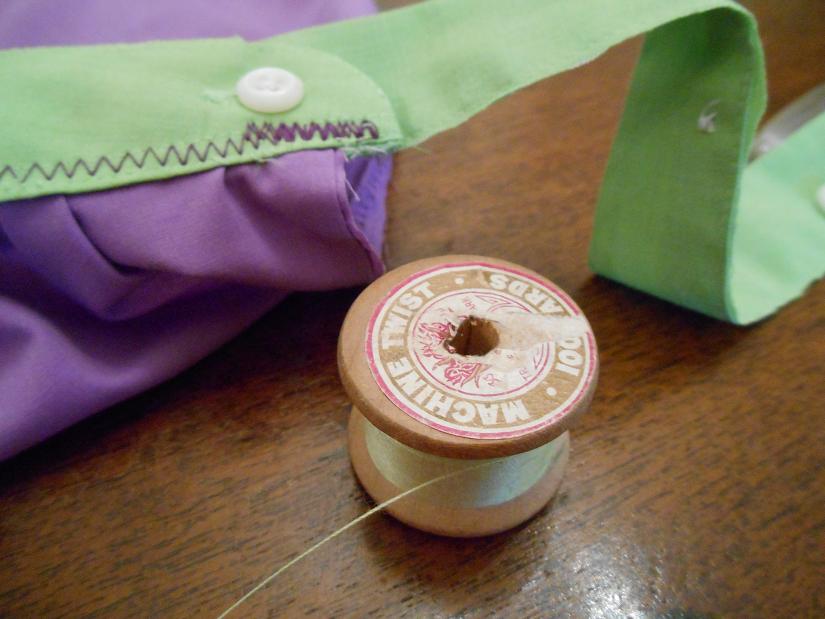
I used the shirt button bands for the simplicity. They’re already stitched and you can attach them to the collar/waistband with buttons!


Leave a reply to elisabetta Cancel reply