
If you look back at Part 3 of the bus-making process you will see how I started work on the wheels and the floor. This is how I finished them:

It turned out after all that the toothbrushes weren’t quite long enough to use as a single axle between two wheels so I used four – one for each wheel.
- First, by whatever means you have available, cut off the bristle end. Careful – watch your fingers!
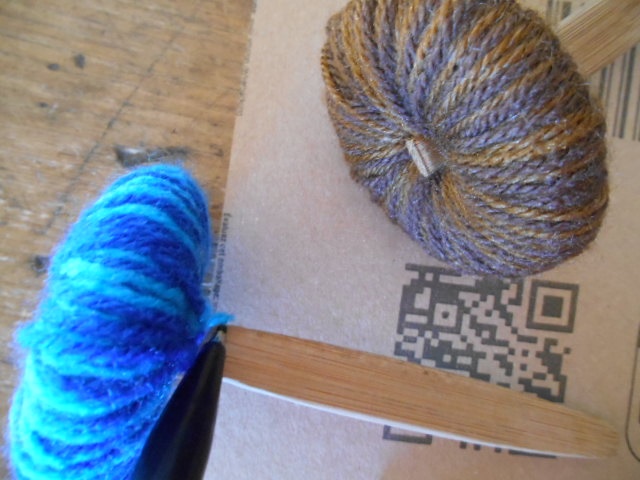
- Push a toothbrush into the centre of the wheel (see how to make the wheels in part 3) so that it reaches all the way through but doesn’t stick out further than the width of the wheel. Then hold a pen loosely against the other side of the wheel and mark a line across the toothbrush inside the inside edge of the wheel.

- Then take the wheels back off and securely tape the toothbrushes to the underside of the bus floor (the card you have already cut out as shown in part 3) so that the pen marks line up with the edge of the card as shown above. The wheels won’t be exactly in line across the bus because each wheel has a separate axle but that doesn’t matter, you won’t be able to tell when it’s all finished.

- Then turn the ‘floor’ over and stick some decorative paper to it. It can be anything you fancy – it’s going to be the Andersons’ lino floor. If you don’t have any decorative paper that you like you could draw/paint/print some tiles of your own design, either directly onto the card or onto a separate piece of paper that you then stick to the card. Just don’t get the card wet.

The paper I used wasn’t quite long enough to cover the very back of the bus floor (see above), but since I knew the bed was going to cover the back I decided it didn’t matter.
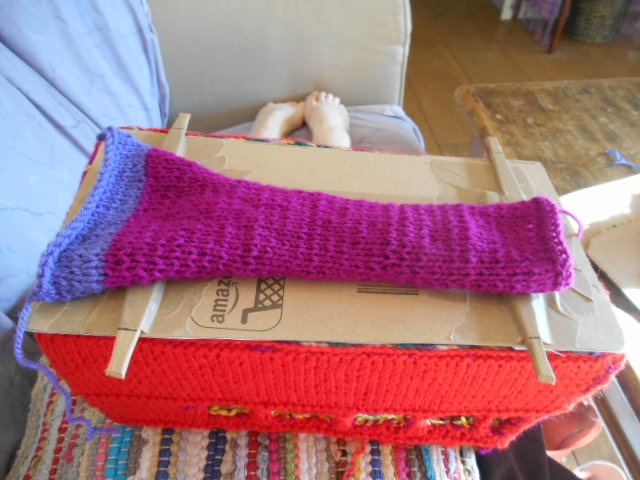
- Get the bottomless bus and carefully turn it upside down. Be especially careful of the piece that sticks up at the front so as not to bend it – I made sure mine was hanging over the edge of the cushion the bus stood on. Position the bus floor like so ↑ and lay the knitted rectangle you’ve made (which is almost, not quite, the size of the floor – see part 3) across the top of it.
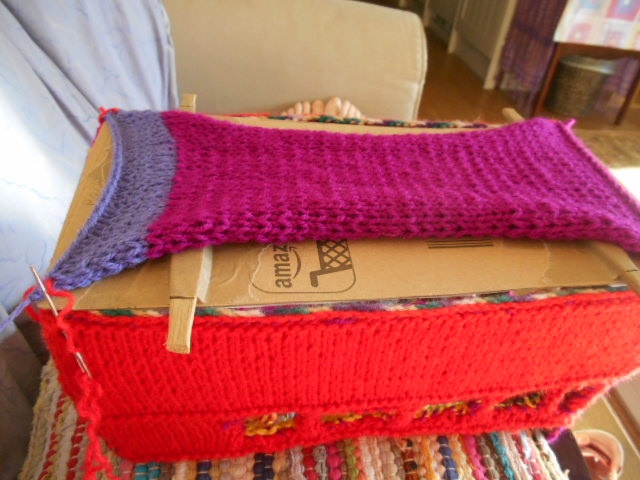
- Put a couple of stitches in each corner to hold it in place …

- … and then sew all the way round, stretching it in line with the bus ‘walls’ as you go. When you get to the wheel axles, just sew around them and keep going.
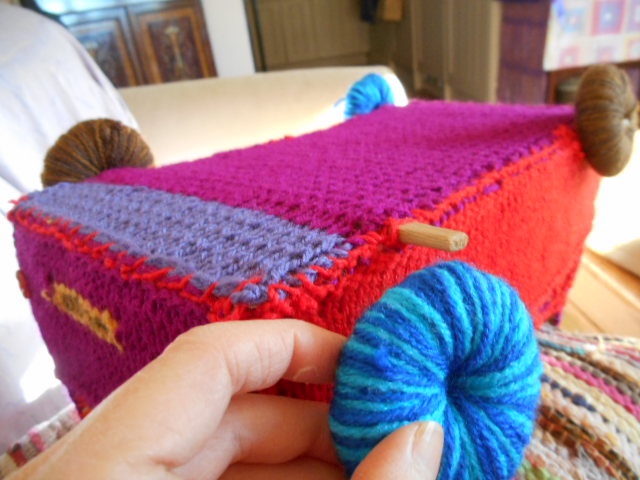
- When you’ve done that, you can put the wheels back on 😀

And there you have it! 😀 Be gentle, those wheels will come off quite easily. And of course, if you’ve used toothbrushes like me, they won’t go round. But they will look nice and, after all, Old Red has retired now so she just wants to sit still 🙂

And there’s a nice new floor!


That’s it for now. Today I’m going to make a wood-burning stove out of this pill bottle ↓ I’ll tell you about it tomorrow 😀

**************************************
*******************************
vegan, vegetarian, toys, homemade, crafts, needlework, knitting, sewing,

This looks amazing! Nicely done, you!
LikeLiked by 1 person
Ha ha ha 😀 Thank you
LikeLike
This is incredible! I’m amazed by what can be created using knitted yarn and cardboard and imagination! 🙂 I know how you do it, but how could anyone begin to imagine it before it was?!
LikeLike
Thank you so much 😀
LikeLike
very very cool! i need to pick up my knitting, i’m a beginner =) great stuff!
LikeLike
Thank you so much 🙂 Yes, get out those needles! 😀
LikeLike
That’s exactly what that bus needed! Wheels. Buses need wheels and they need floors.
LikeLike
They do come in handy 🙂 My goodness! That looks like some reckless bus driving! 😮
LikeLiked by 1 person
You should never let a muppet drive. 🙂
LikeLike
Very true. Unfortunately a lot of muppets do drive 😮 😉
LikeLike
Yesss!!!! So, it was worth having the injury, after all 😀
LikeLike
Ha ha ha 😀 yes it was 🙂
LikeLiked by 1 person
Well that’s great then! 😀
LikeLike
😀
LikeLike
Very nice wheels 😀
LikeLike
Thank you 🙂
LikeLike
Awesome!! That bus looks fantastic! 😀 Buses are the new houses!
LikeLike
Thank you 😀 I’d love to live in a bus, or a railway carriage 😀 or a mobile library 😉
LikeLiked by 1 person
Oh yeah 🙂 I would love to be three inches tall – that would be amazing, you could live in a shoe, less would go so much further, you could do anything, go anywhere.
LikeLike
Imagine that! 😀
LikeLike